


I recently upgraded my Jack Frost tooth memory box. Originally I had used a dollar store present tube box and converted it to my first tooth box. It served me well because I could keep all my touch up makeup, keys and misc other items in it while I walked around the comic cons.

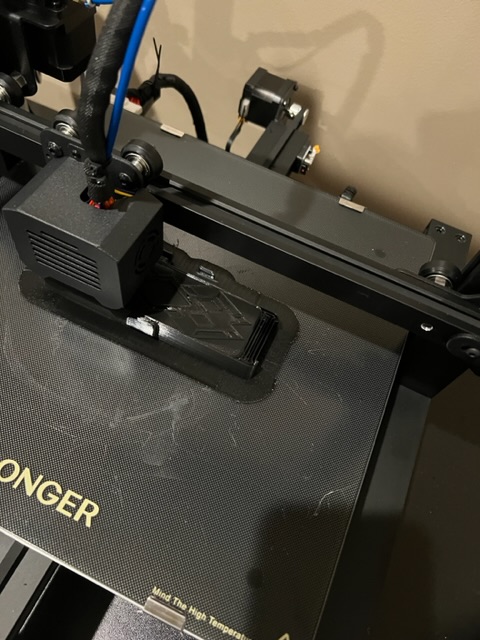
I wanted though, for Visioncon 2023, to upgrade the tooth box to be a little more screen accurate…especially since I just put together my new longer 3D printer!
I found an amazing file on thingverse for the toothbox by wbucket here https://www.thingiverse.com/thing:4006720
the file was amazing and worked great. I may have made it slightly bigger than what the file was originally, but it still worked.

I should have filed these down but I was really strapped for time and was in full con-crunch and skipped that step. If you have the time, always file to get that smooth look. I did not take this advice so it will forever annoy me lol.
A friend said she uses auto body paint filler that does a really great job filling the lines. I will have to give it a try and see myself!
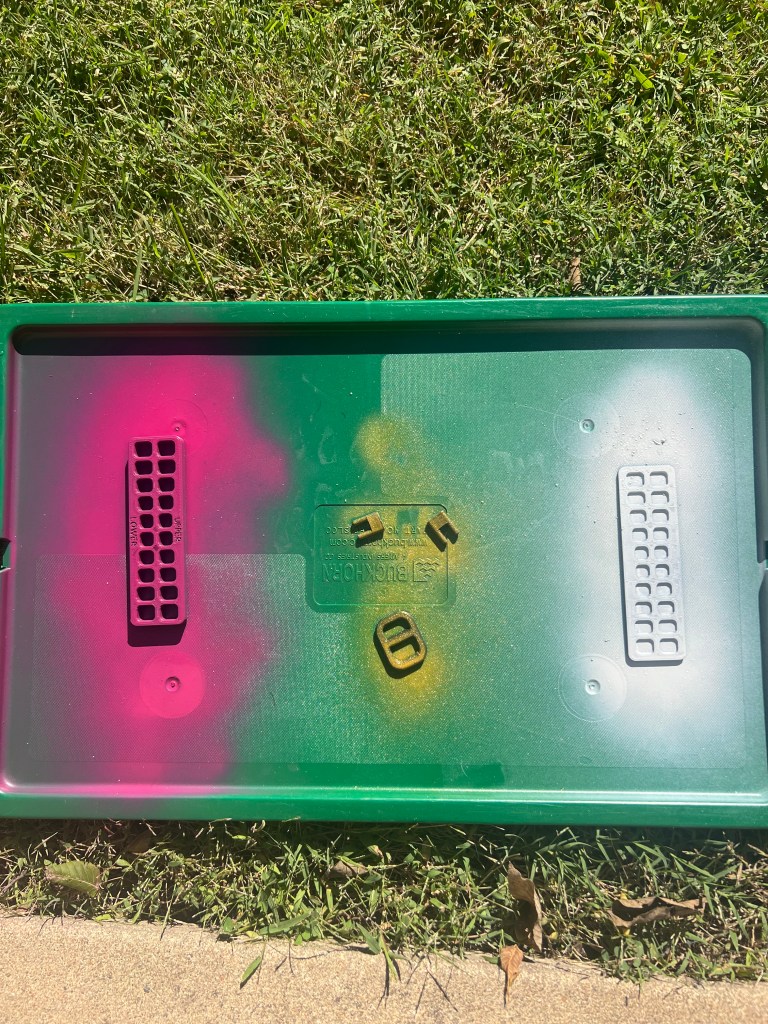
After I printed all the pieces, I then primed and painted my pieces
I tried painting the outer body with gold spray paint, but it did not turn out that great. One on the left is the spray paint verses one on the right with acrylic paint.
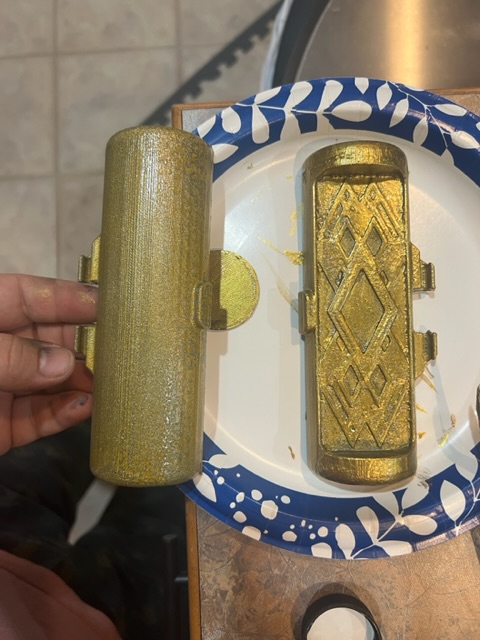

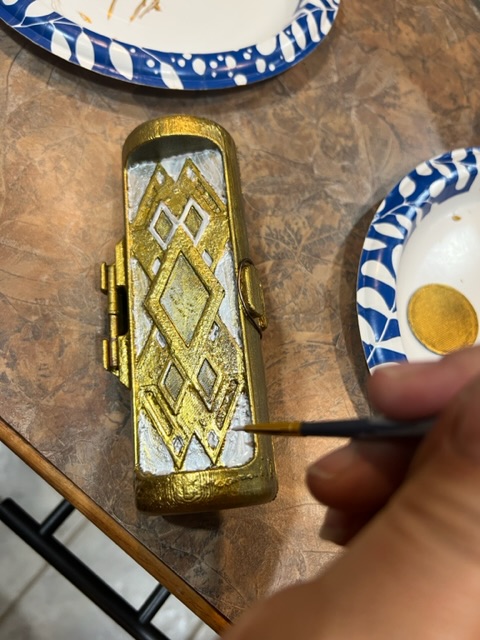
Instead I used liquid gold acrylic paint by folk art and it gave it a great hammered gold look.
so then I went on using my metallic acrylic folk art paints to match the rest of the tooth box

I then assembled it all together. I realized that I needed to file down the inside of the box so that it could close properly. So I ended up having to sand some of it regardless!
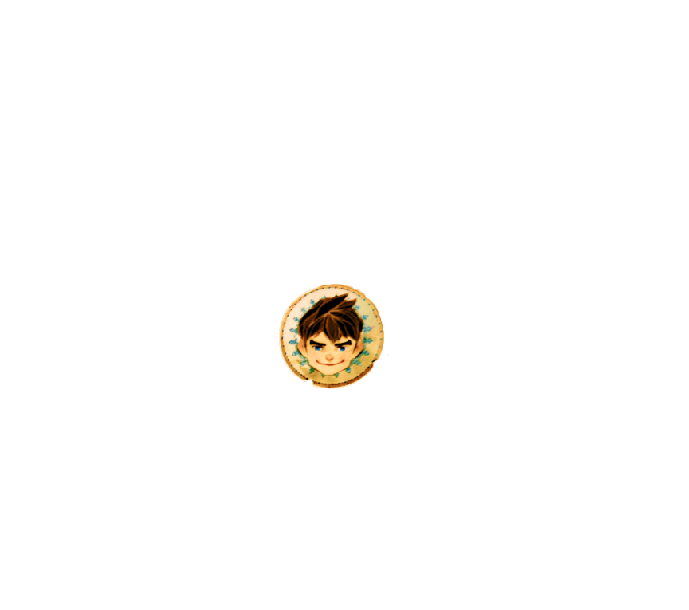
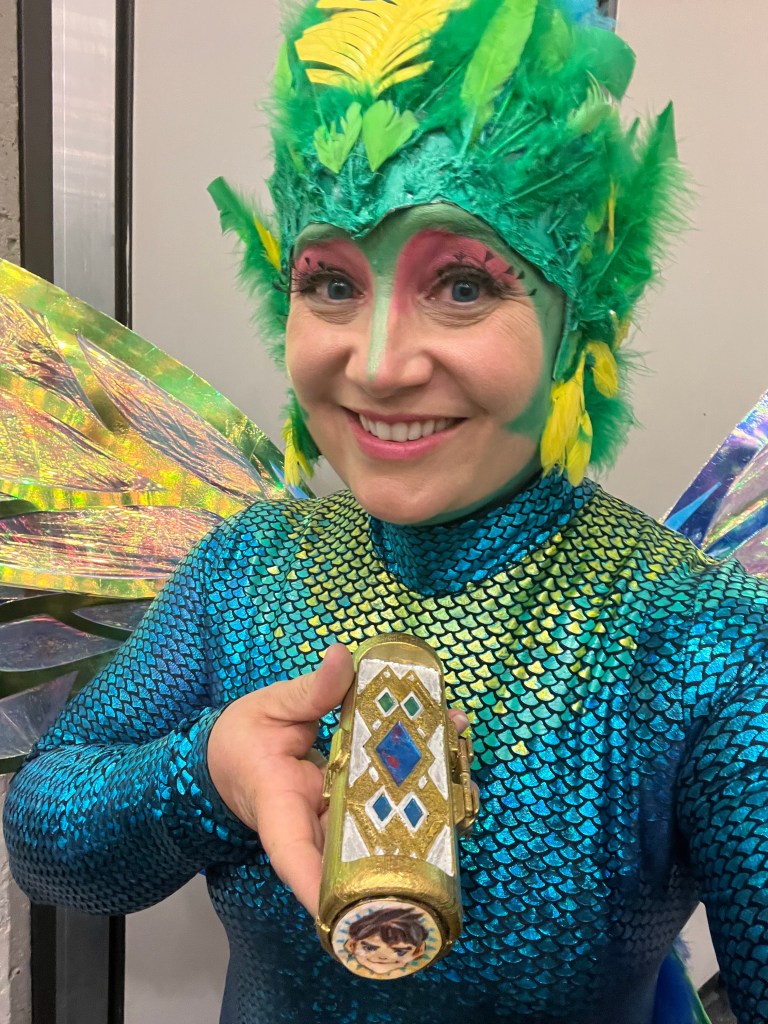
Now onto Jacks’s face. I found an image of his face online and printed it out on my printer. I sized it down to about 20% to that it would fit my 1 inch diameter circle on the end of the box.

Once I printed it out, I used colored pencils to fill in the blurry lines and make it pop.
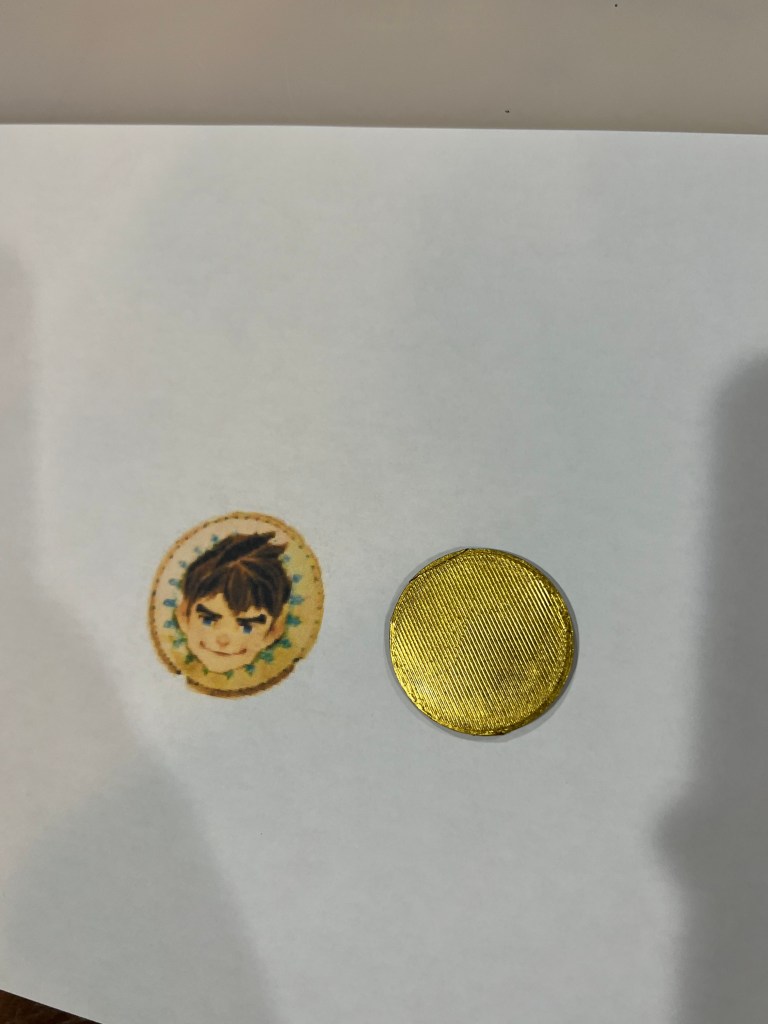

I then glued it on to the disk and attached it to the bottom half of the tooth box.
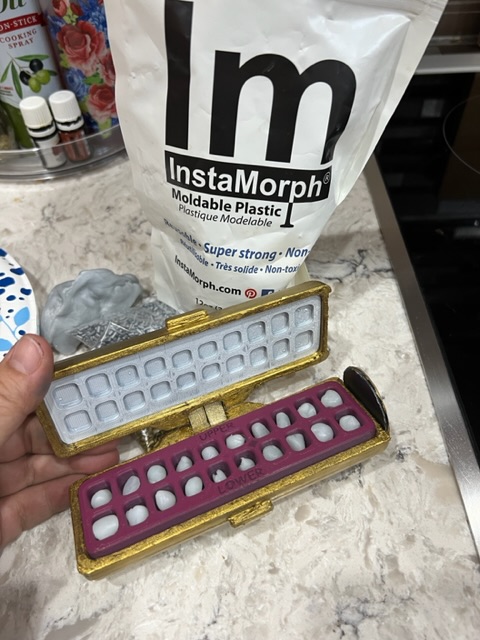
The final step was making Jack’s teeth. That was probably the easiest because I just used instamorph pellets that I heated up then hand molded each tooth to fit into the box spaces.
Hope you enjoyed this tutorial! Let me know if you have any questions!
