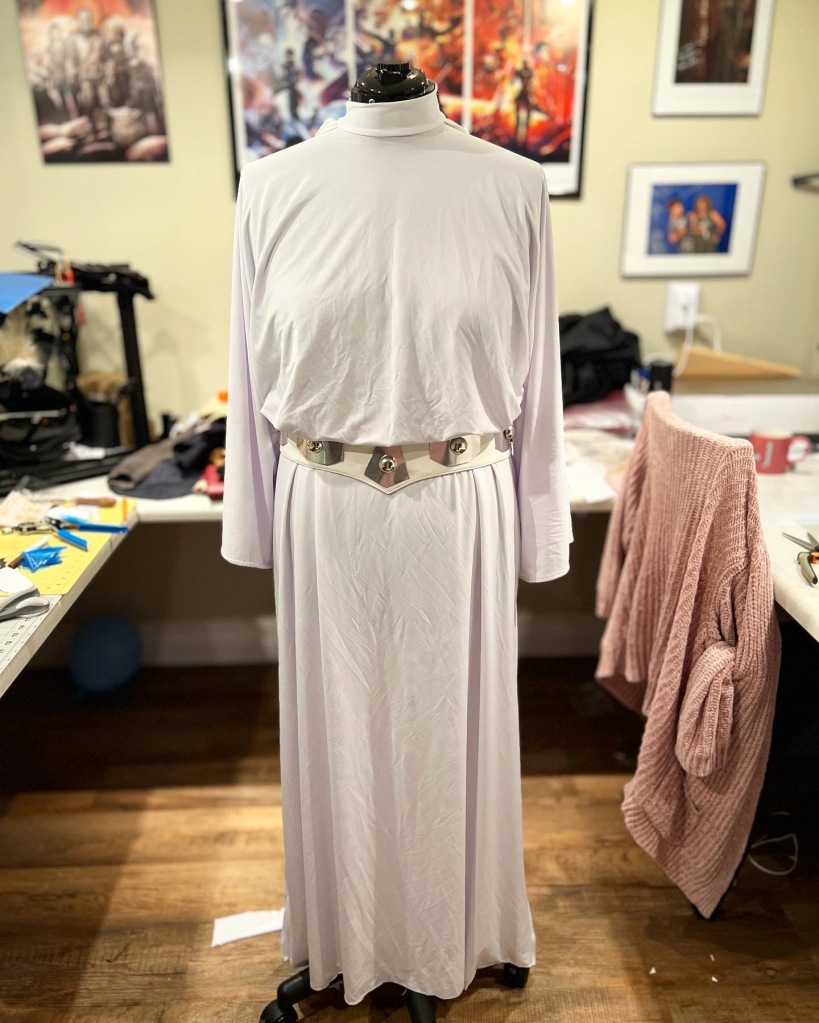
So this build may have been one of the easier builds compared to some other cosplays I’ve done in the past! Here’s the materials I used:
- 4 way stretch white fabric
- 7 – 1 in silver dome buttons. Silver Dome Metal Button – Round… https://www.amazon.com/dp/B08X8S4352?ref=ppx_pop_mob_ap_share
- White leather like material
- Metal sheeting I used 1/64 inch thickness Luckyweld 5052 Aluminum Sheet… https://www.amazon.com/dp/B0BDLZT86R?ref=ppx_pop_mob_ap_share
- metal snips
- Ohl
- leather punch
- small buttons
- thin metal wiring
I had actually bought the simplicity pattern s4443 which had the senatorial gown on it but then I had this sinking suspicion that the original screen costume didn’t have seams the way the pattern did…. And I was right! I jumped on the rebel legion forums and saw wonderful helpful tips on how to put it all together. That is where I got most my instructions. Now if anyone wants to buy a $40 pattern from me let me know!! Lol
Ok here’s how i did it!
First I laid out my fabric.
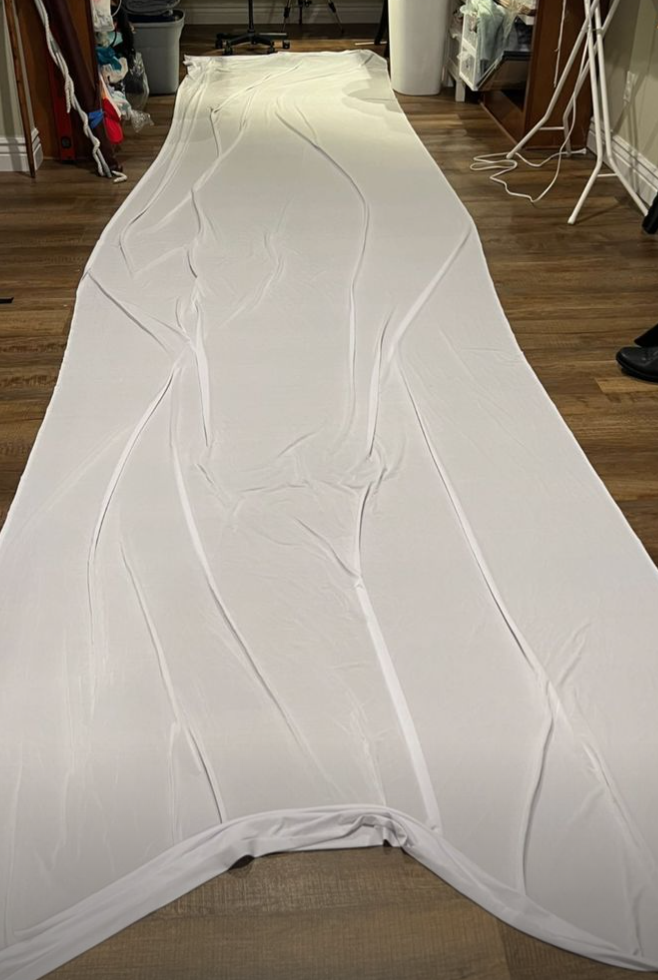
I folded it in half and then half again. I cut it in two, one for the outer layer and one for the lining.

I then cut the fabric to this basic shape. the blue line is also where I sewed them together once opened up.
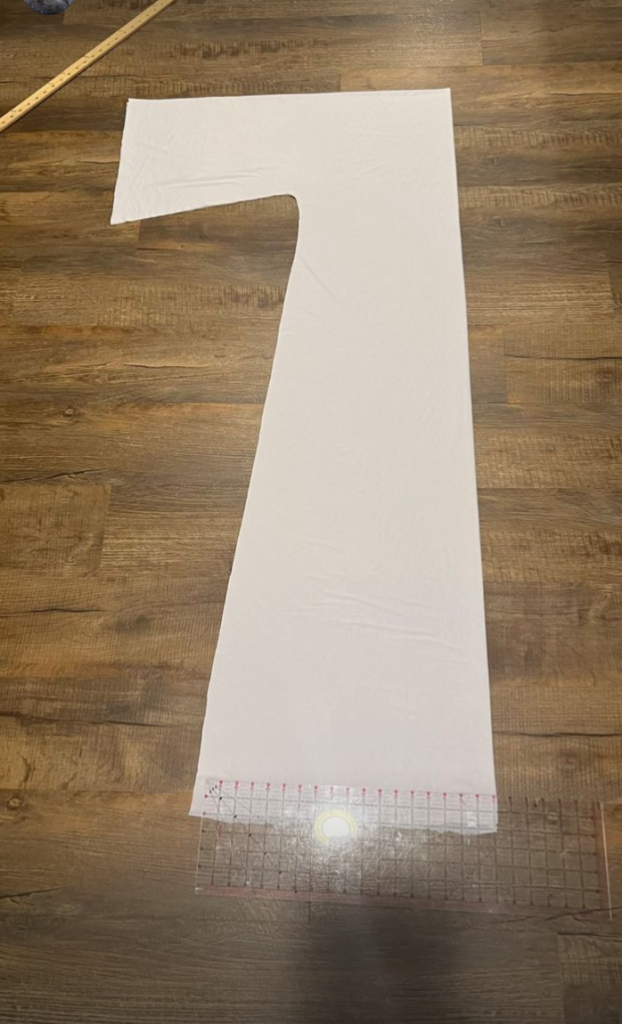
I then cut the head hole out, about 5cm. be careful not to cut this too big!

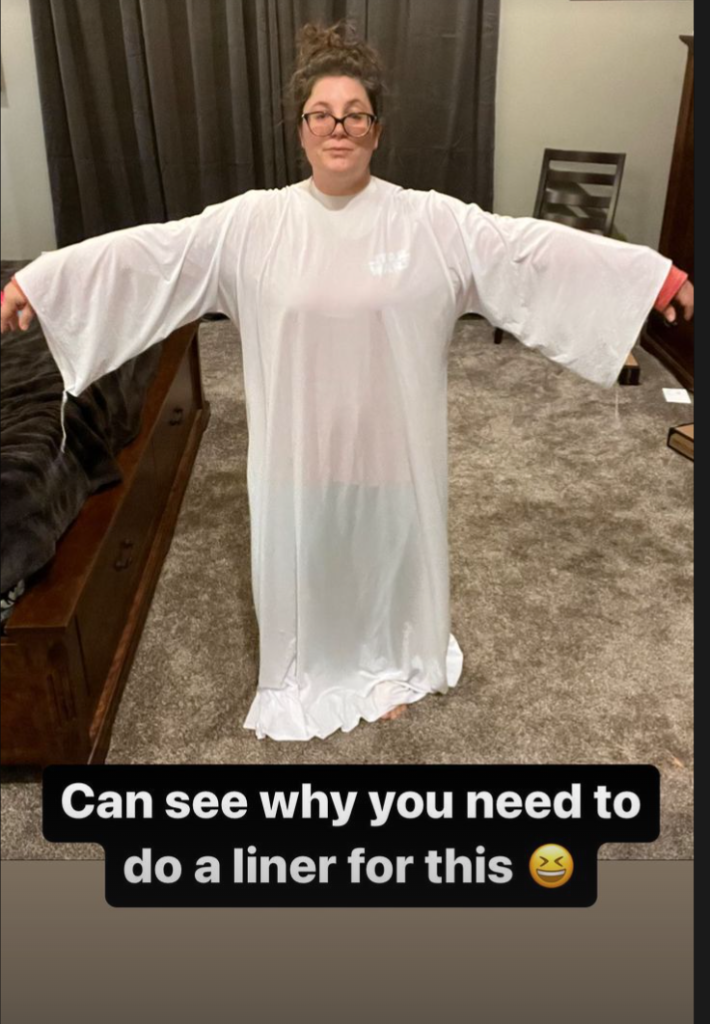

After trying it on and making sure it would work i sent about cutting the lining and repeating the same steps as before. And YES you need to make a lining! I just laid my first piece over the fabric and used it as a pattern.

Tried it on the body form and it looked good!

Next is time for the hood. The hood actually does not sew together in the head, its open on the back end like a piece of fabric just draping over your head without sewing if that makes sense. It’s not quite symmetrical so the top is a little longer than the bottom. the blue line is what i cut and the left side is folded. It is about 26 inches on the top cut and 23 on the bottom cut. Its about 18/19 inches tall on the fold.

I then pinned the cut ends to the back of the gown.
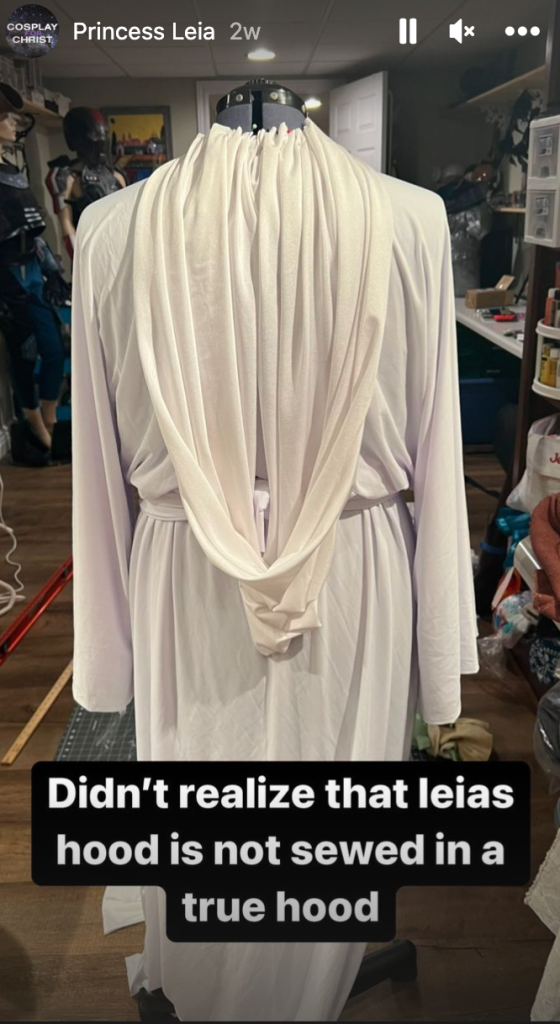

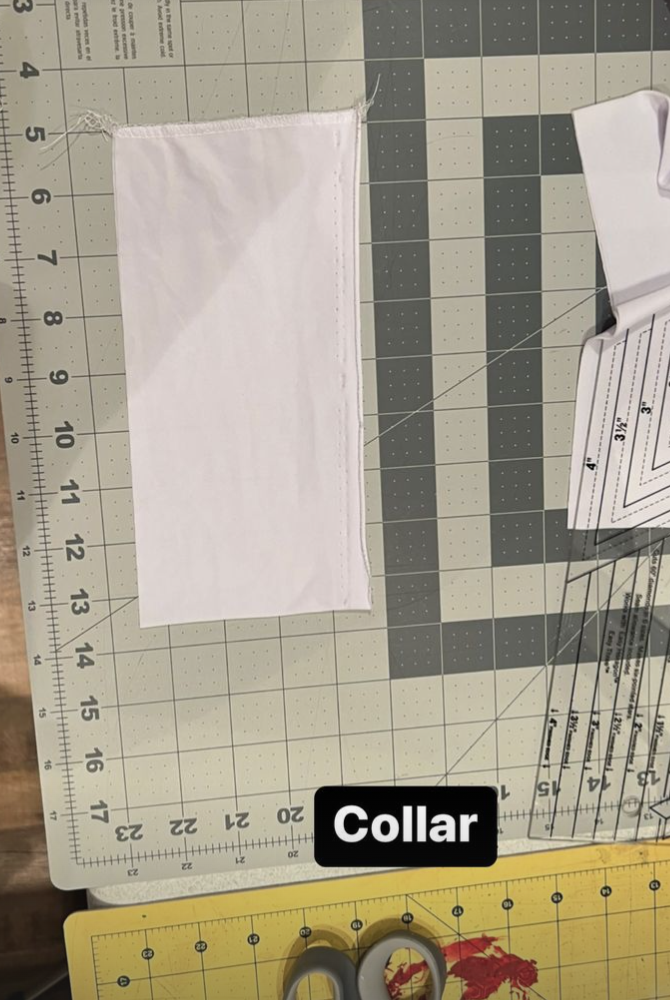
Next it was time to make the collar. I cut a piece of fabric 4 in wide by 17 inches then sewed the ends together.
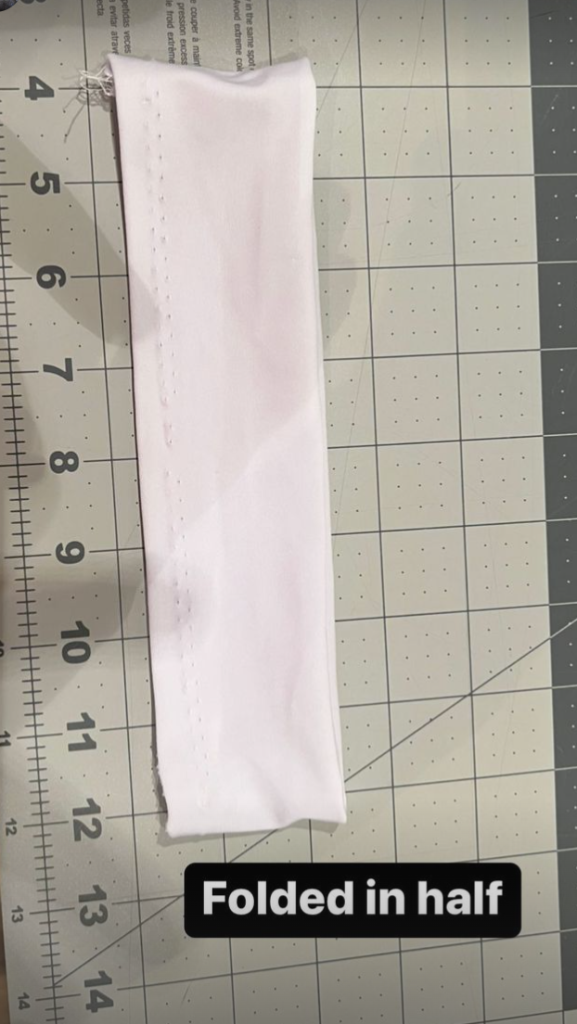
I folded it in hald then pinned it to the gown’s neckline upside-down right sides together.
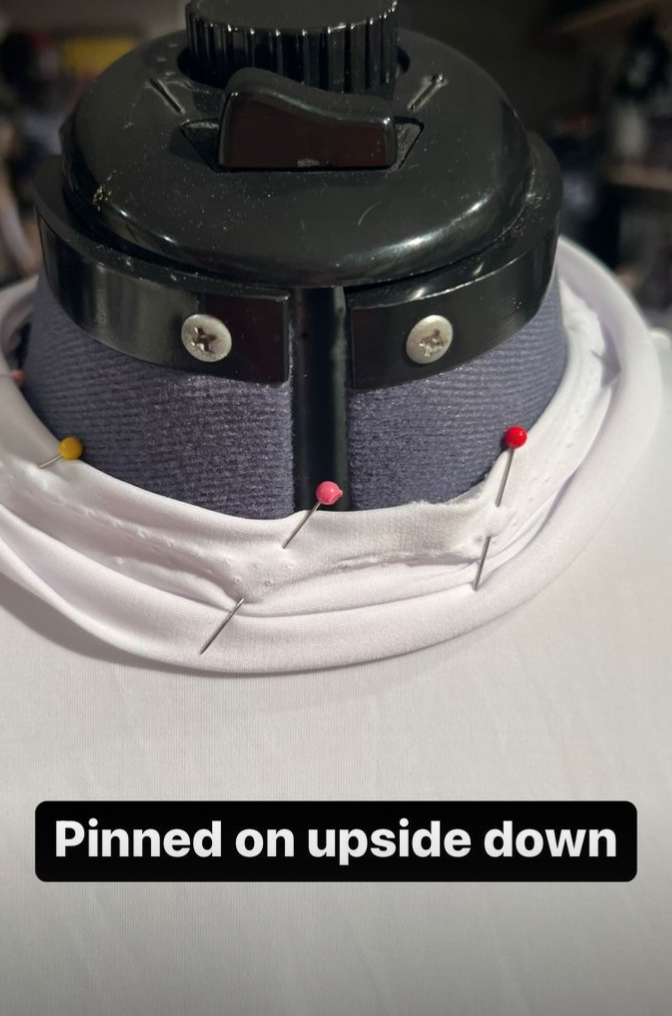
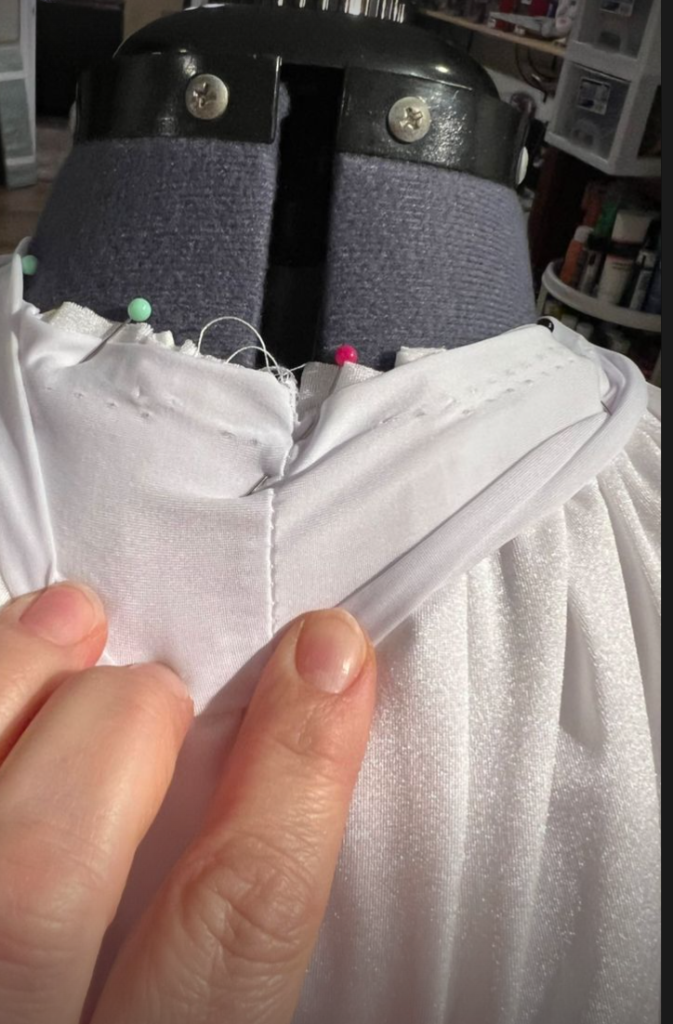
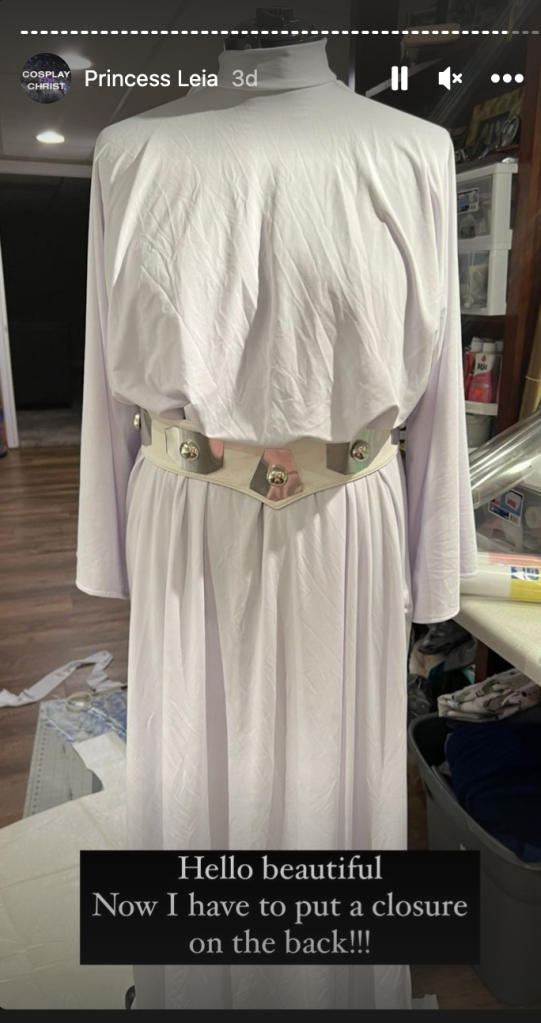
Sewed it on and tried it out! Since my fabric is 4 way stretch it fit over my head without needing a zipper or extra closure. Now that the lining was attached by the top of the neckline, i turned the robe inside out and hemmed the sleeves and the bottom including the slits on either side of the gown.
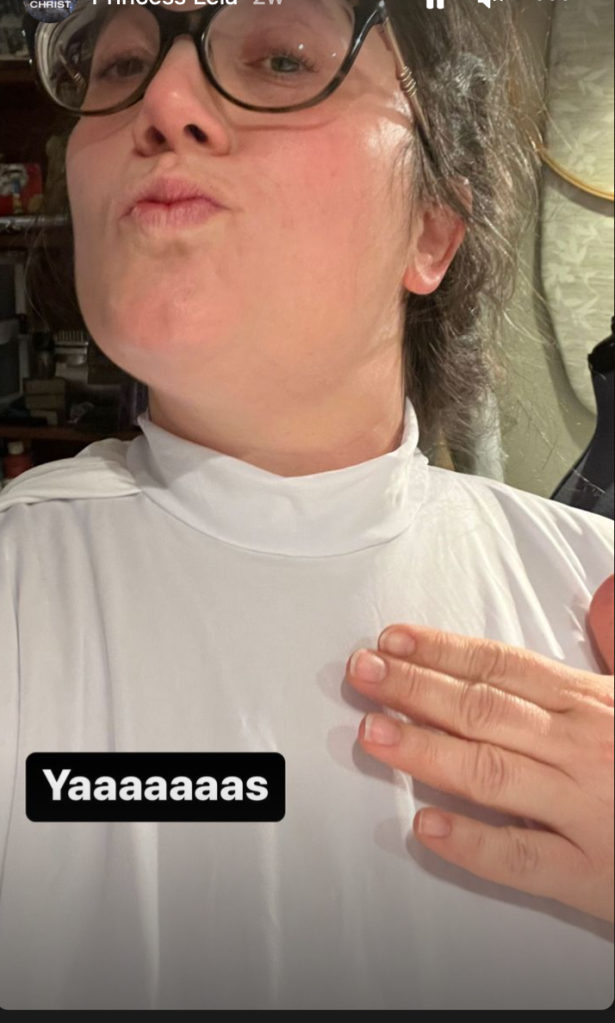
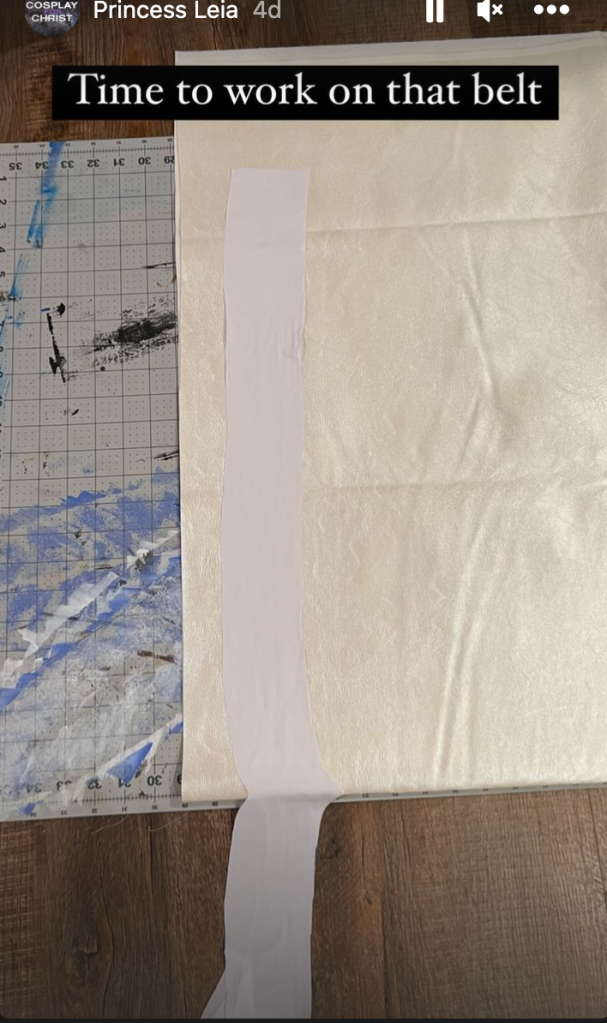
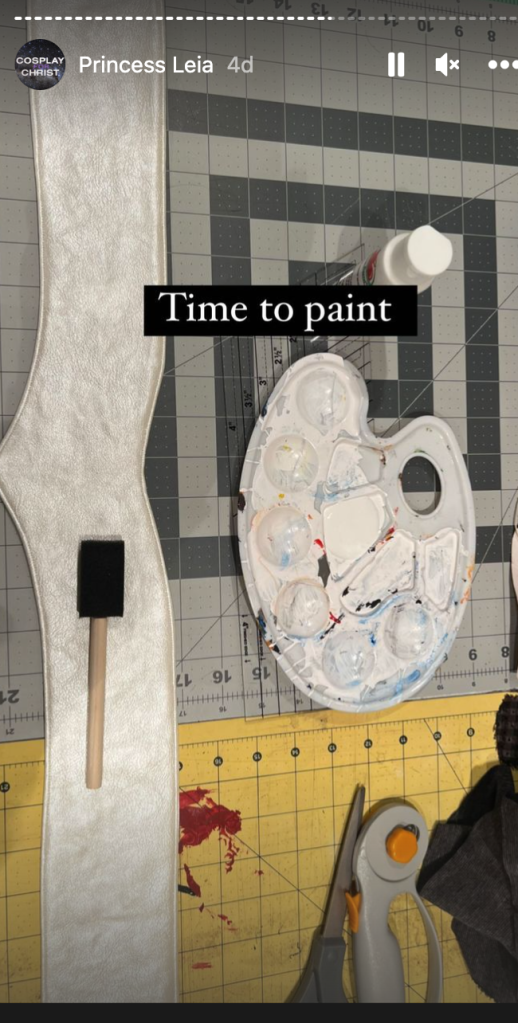
Now it’s time for the belt! I found this pearl leather-like material on clearance at Hobby Lobby for about $4.50 for a yard which was WAY cheaper than the other leather-like fabrics i was seeing. The color and sheen was not accurate but I discovered I could paint it with acrylic paint and it made it match much better.
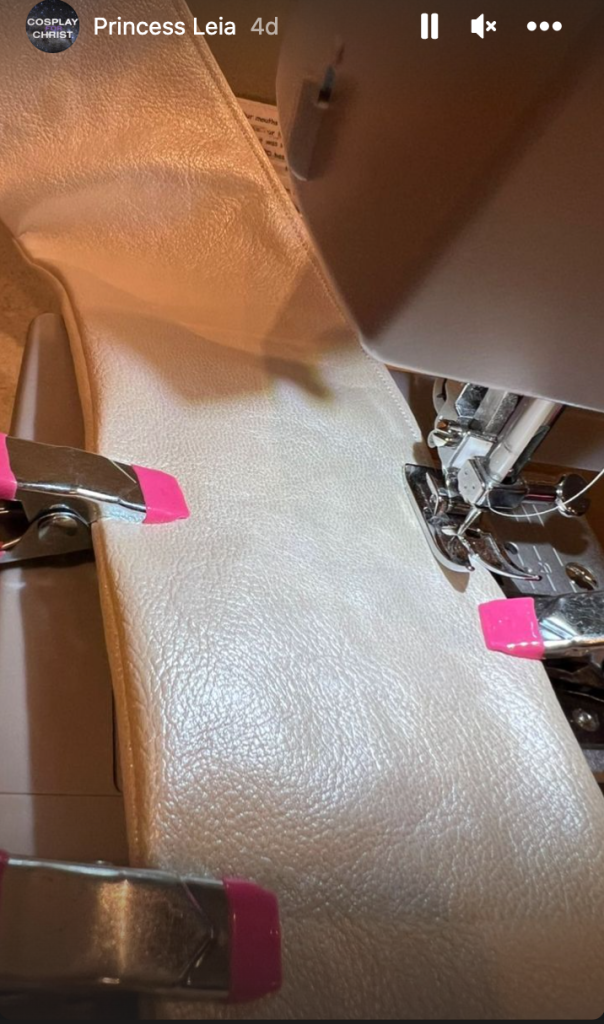
I cut out two identical pieces then sewed them together ( wrong sides out) and left one end open. I turned it right-side out then top stitched the entire edge including the open end. My clips helps much better than needles for this material.

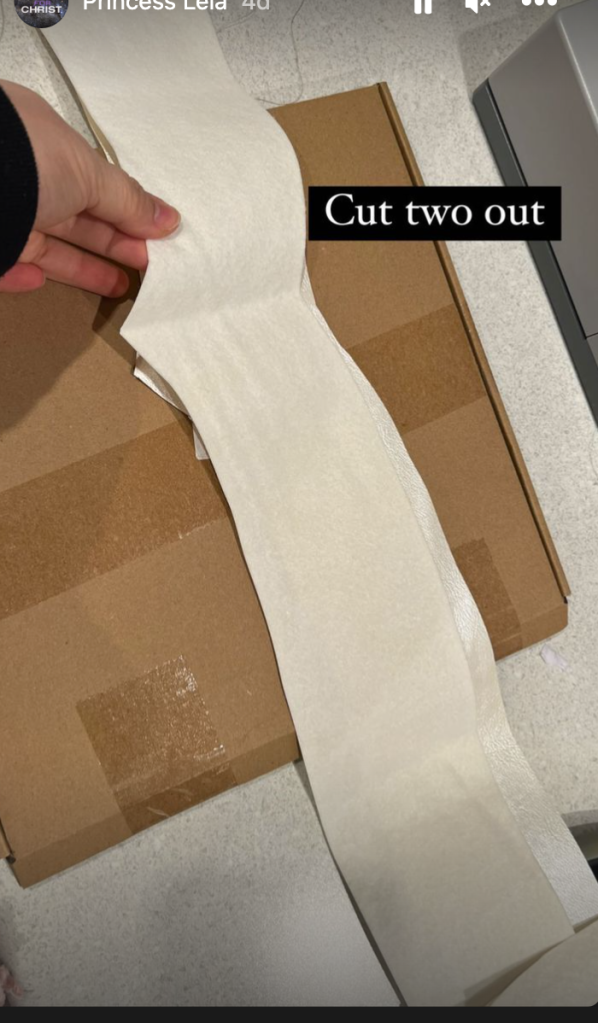






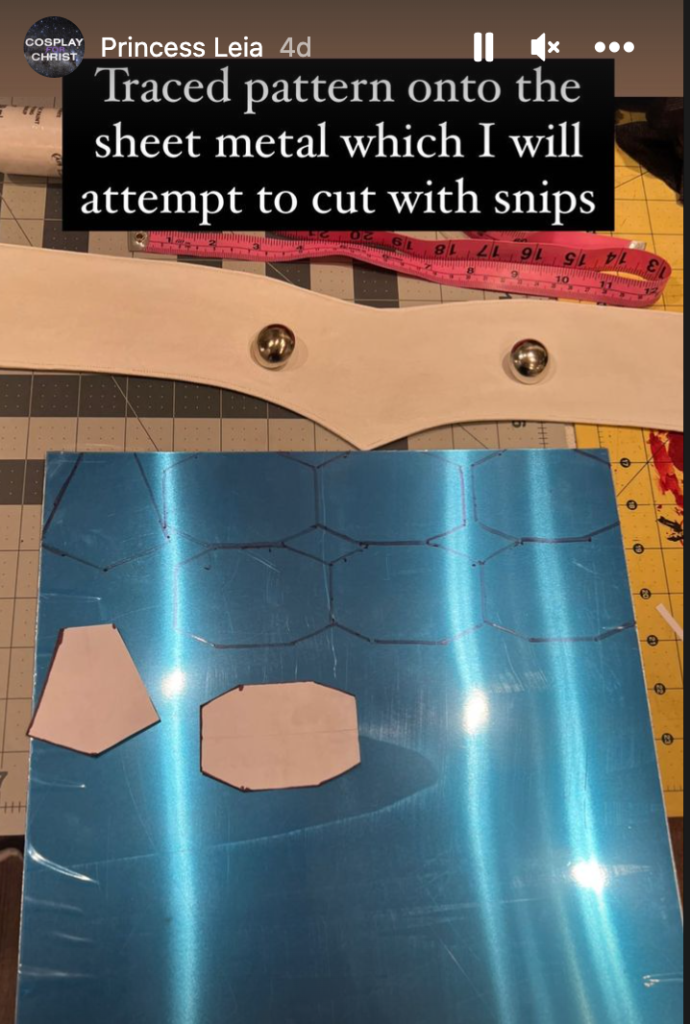
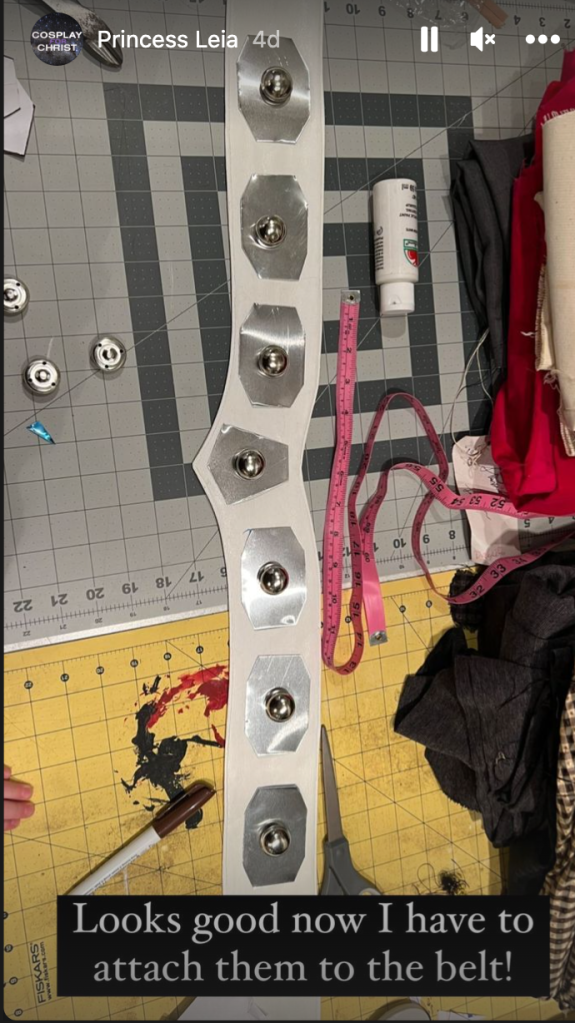
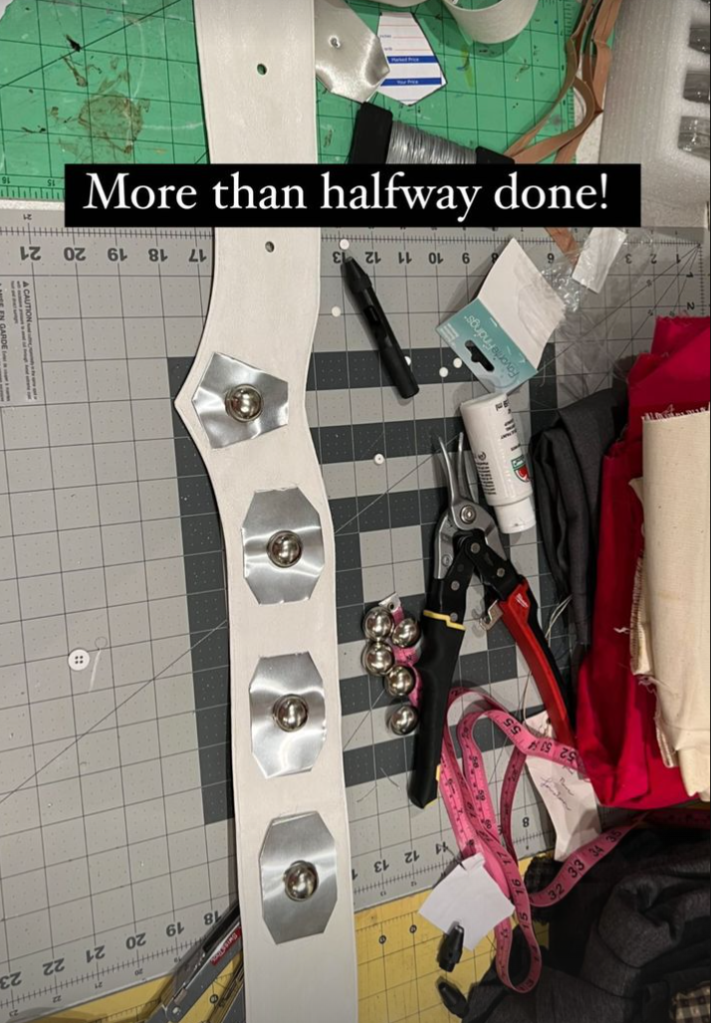
Now it’s time for the metal pieces. I used the pattern I pulled from google images of the dimensions for the metal pieces. You cut one one the 5 sided piece and 6 or 7 of the 8 sided piece. the extra can be used to cover the back if you prefer. Once i traced the patter on paper and cut it out I made sure it looked good size wise to my belt. Then i traced that paper pattern onto my metal sheet. I tried to utilize as much non-wasted space so I could use it for other projects.
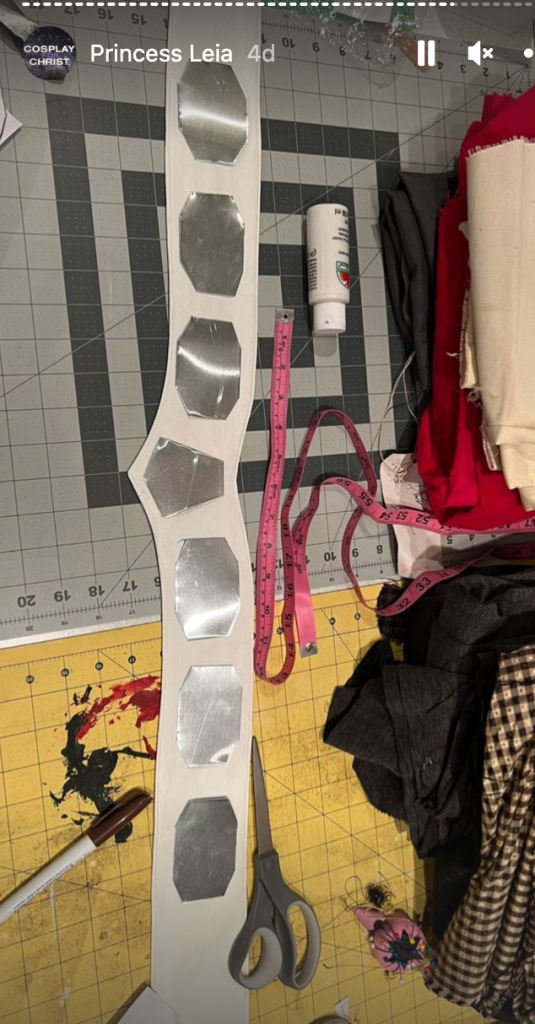
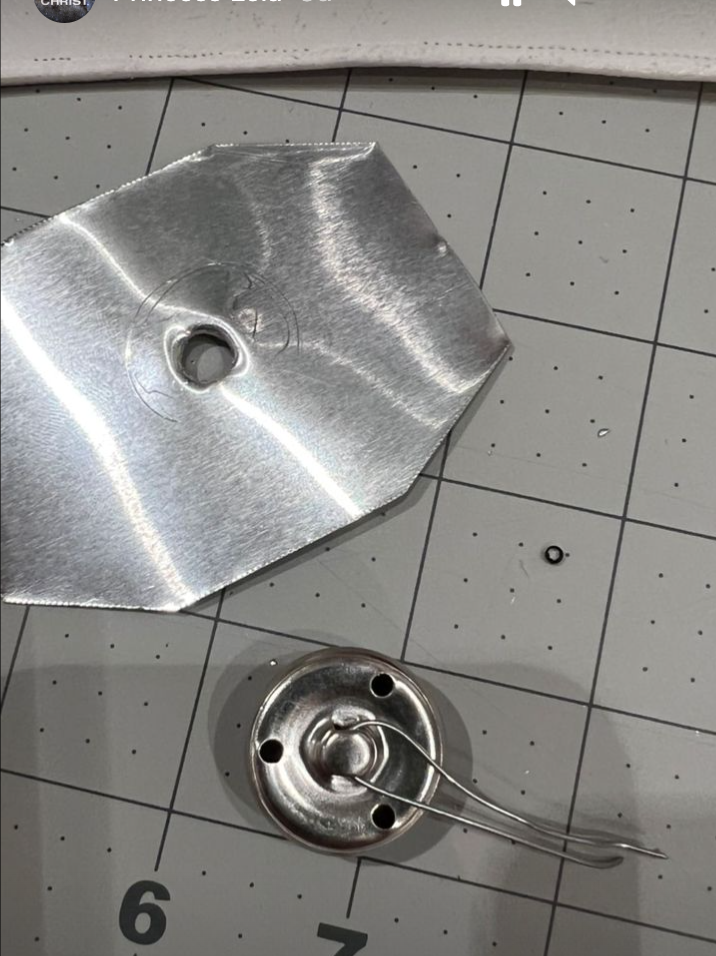
Once cut with my metal snips, i spaced them out to get the spacing right. I then used an ohl to puncture the metal and the belt so i would know where to make the holes bigger and where the button was getting threaded into. I punched out a bigger hole with my leather punch for the belt. The metal piece I had to improvise to make the hole bigger. I ended up using the philips attachment on my multitool to twist and make it bigger. It worked!
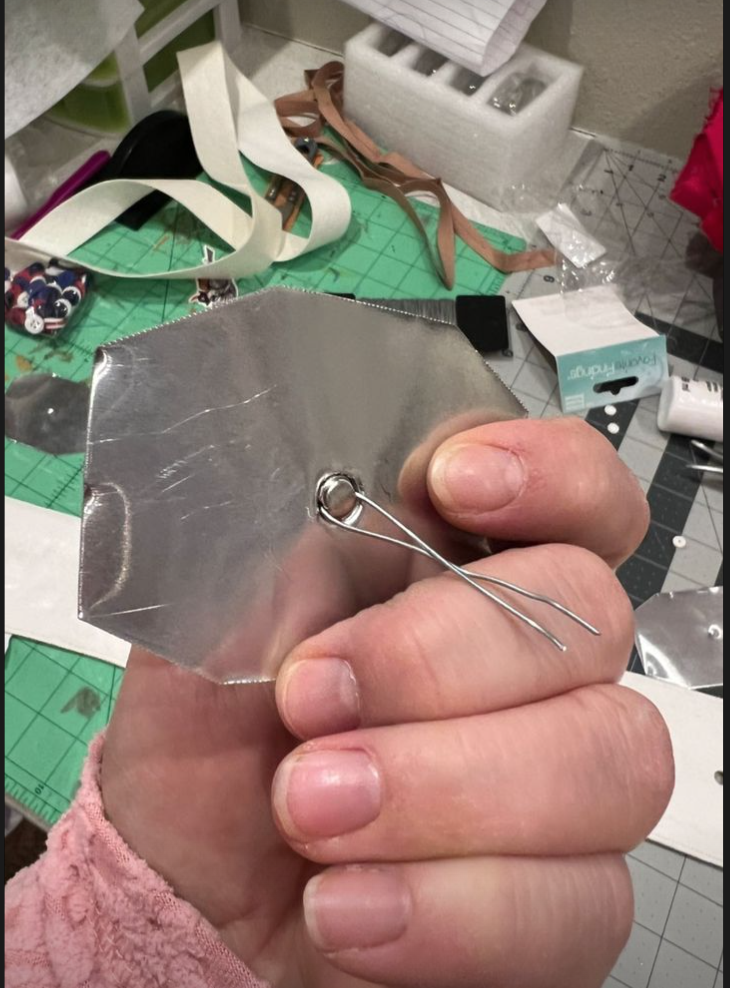
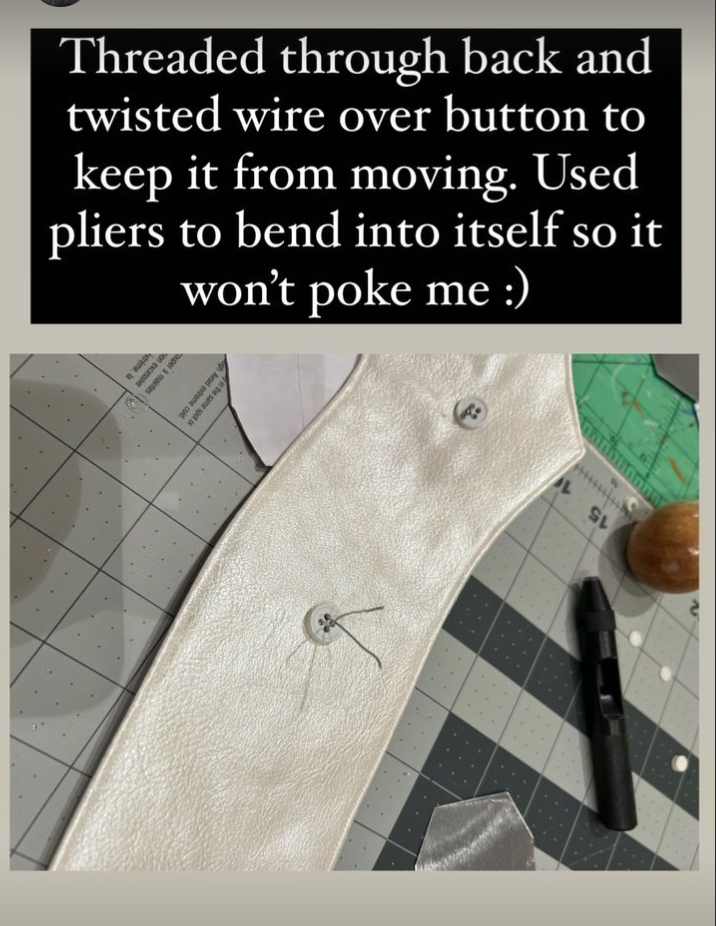
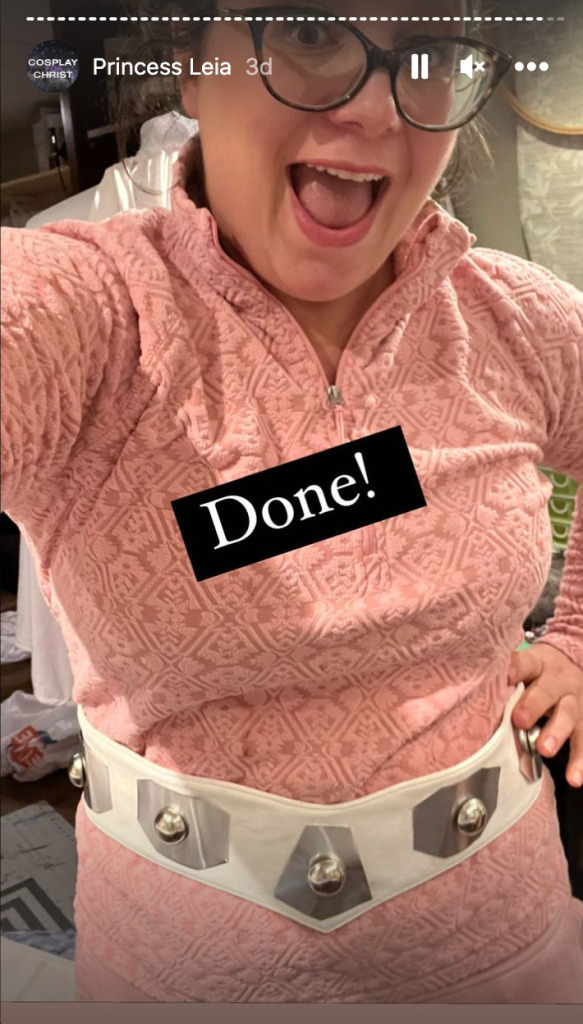
Then I cut about a 3 inch piece of metal wire and threaded it through the button. I then threaded it through the metal piece and then the belt. On the backside of the belt where the wire came through I threaded it into a small white button that was bigger than the opening of the hole I had punched in the belt. I then used my multitool needle nose to twist the wires till the metal piece was secure. i cut the excess wire and bent the end inwards to the button so that it wouldn’t poke me. I did this for all the pieces.
Lastly i just sewed velcro to the back to secure it. I may add snaps later.





The boots I haven’t finished but will just spay paint some old river song boots I have that I needed to retire because the leather was coming off, but spray paint does wonders!


