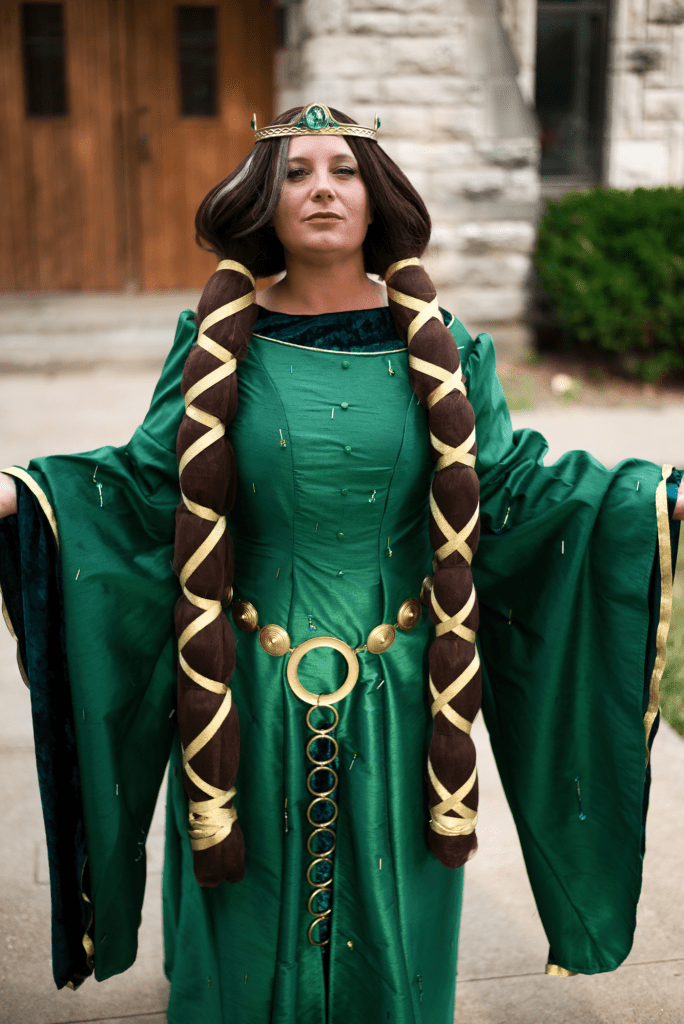

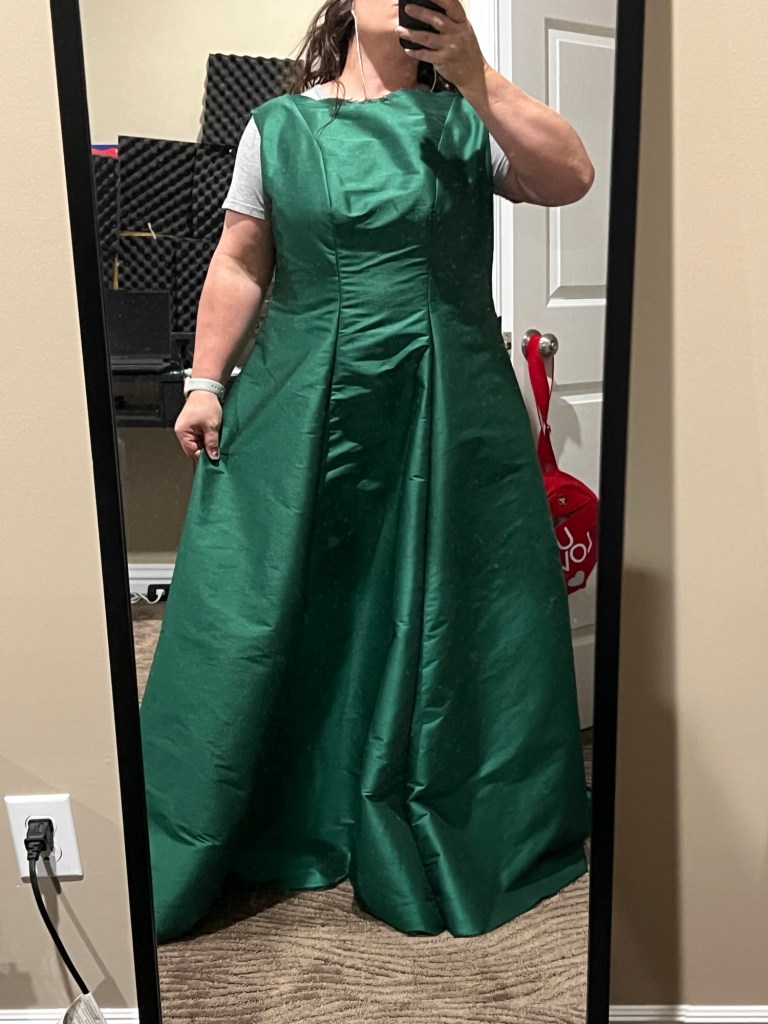
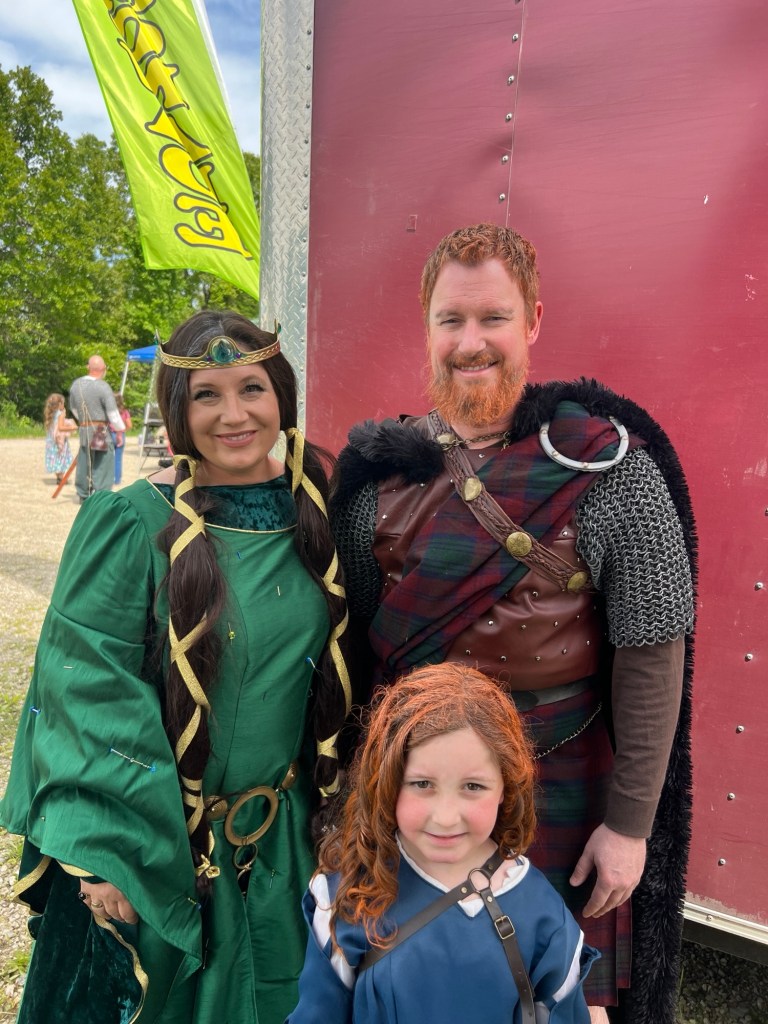
Queen Elinor was a fun build for me! I had a few puzzles to solve with the wig, sleeves and belt but I think in the end it turned out well! Here’s how I I made it!
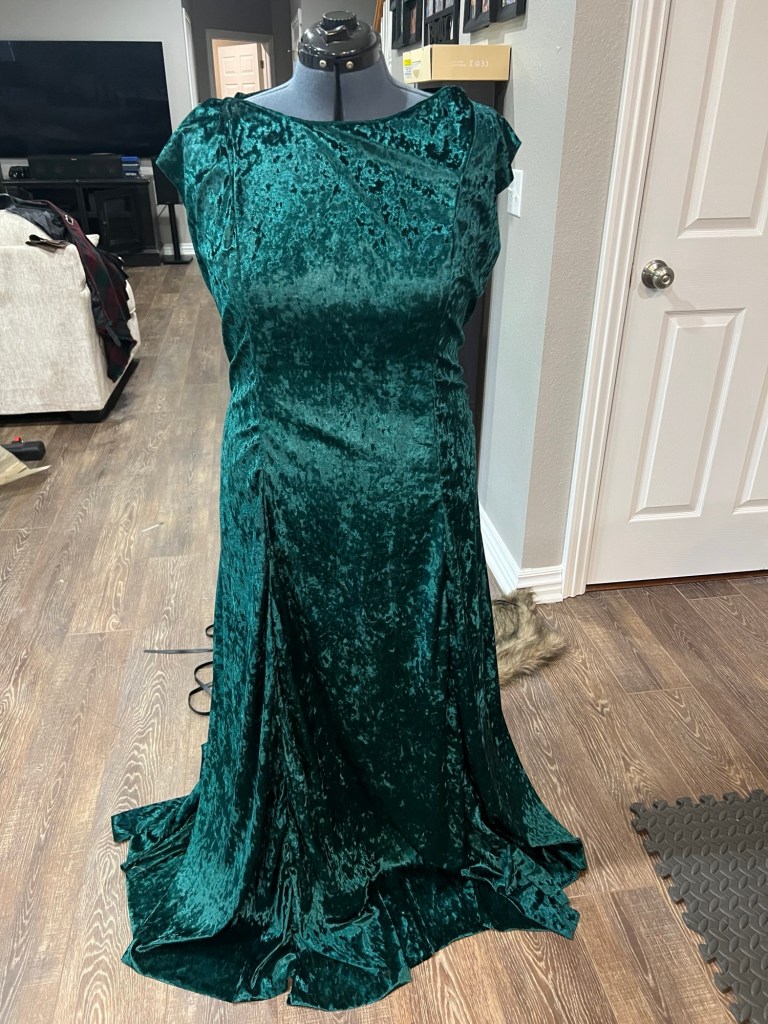
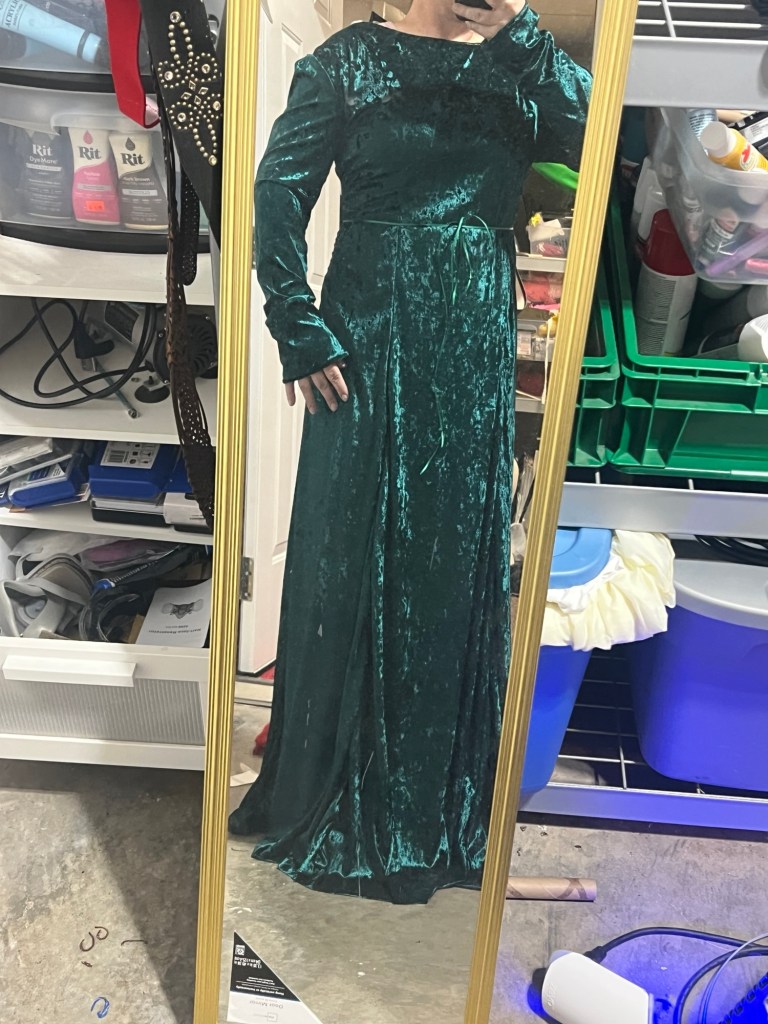
Underdress
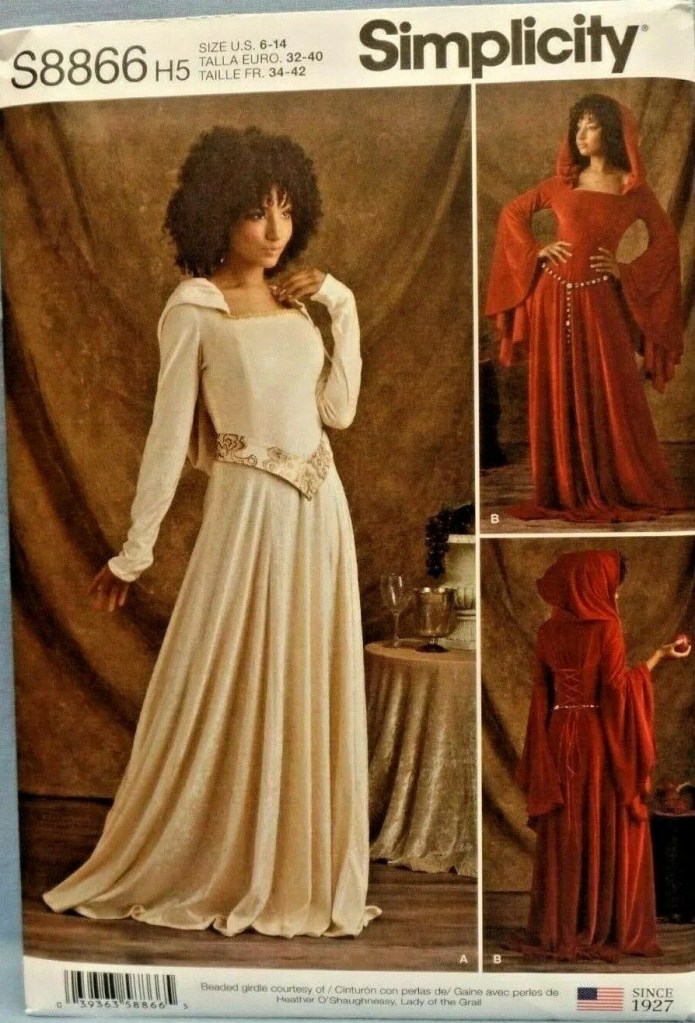
This was a reference picture I used to find my fabric. The dark forest under dress was the easiest out of all the sewing. I used Evergreen Polyester/Lycra Crushed Stretch Velvet Knit from Fabric Mart. I got a really good deal at 4$ a yard! I used the pattern from Simplicity 6688 for it. I choose variation A but left out the hood. I had to modify the neckline since it did not match. Fortunately I had made a mock up of the dress before so I used it to create the neckline I was wanting. After that, I just followed the instructions to complete it. After making the outer dress, I ended up needing to adjust the neckline a little more to match.


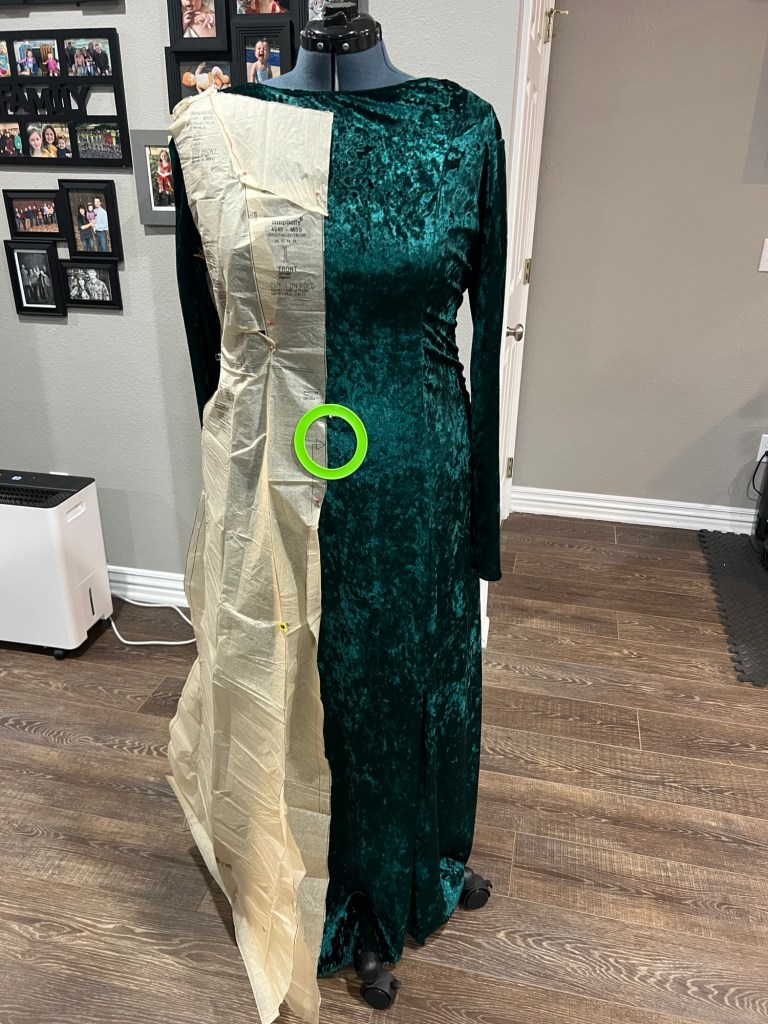
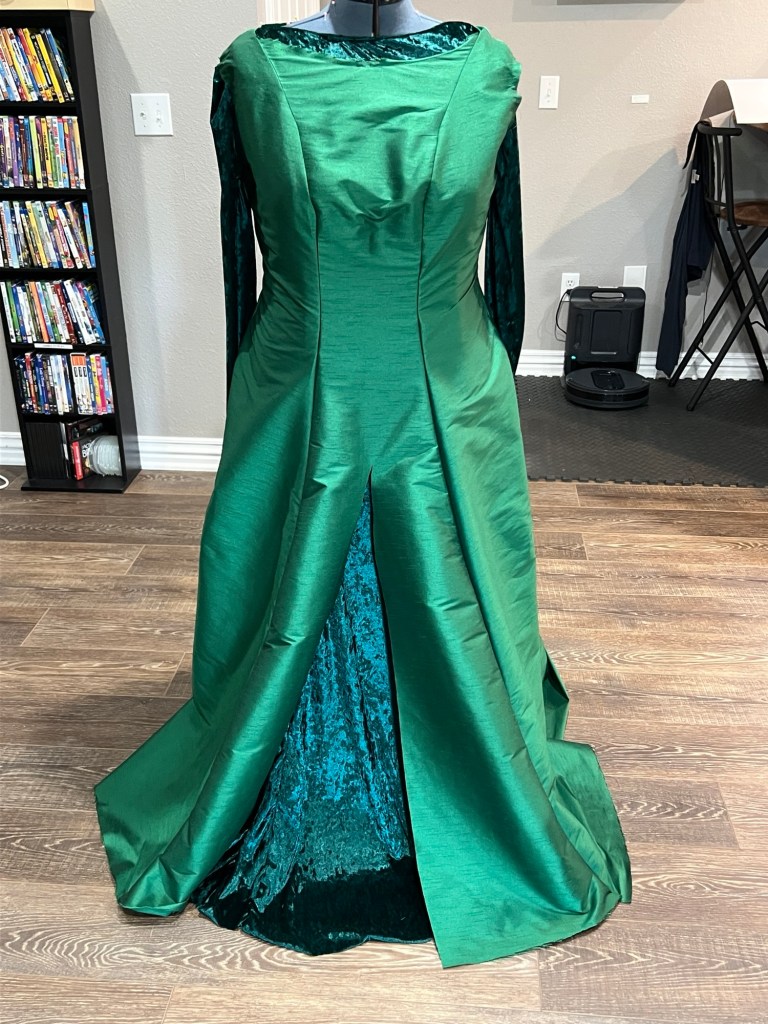
Outer Dress

For the outer dress, I used a beautiful hunter green Dupioni Faux Silk fabric I found on Etsy by MuseFabriks. Here is the link! At the time I bought 6 yards for 7$ a yard. I did have to pay extra for shipping but the fabric worked great. I may have chosen their emerald green had I seen it lol. Pattern I used was Simplicity 4940 variation C.

I also had to modify the pattern again for the neckline, the sleeves and the middle slit. For the neckline, I used the underdress as my guide. The original pattern was too low cut for the cosplay.

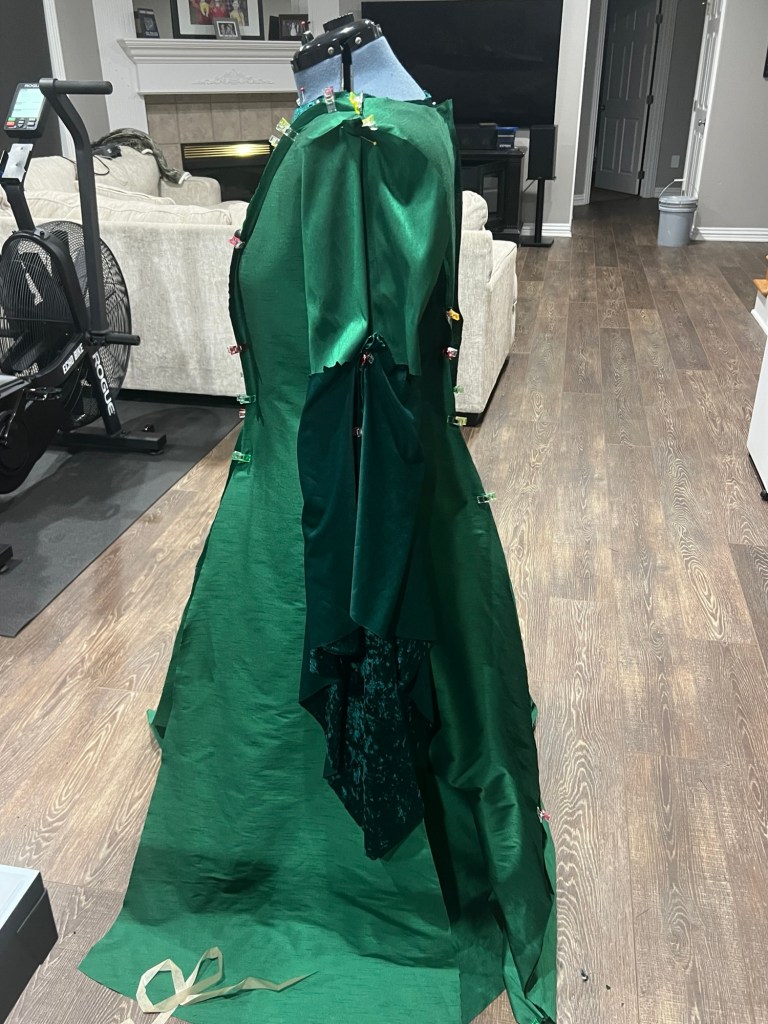
I cut out the bodice front, back, side and short sleeves and pinned them to my dress form. I had a lot of modifications I needed to make with the sleeves. I wanted to make sure I had the sleeves settled before I sewed the main dress bodice together.


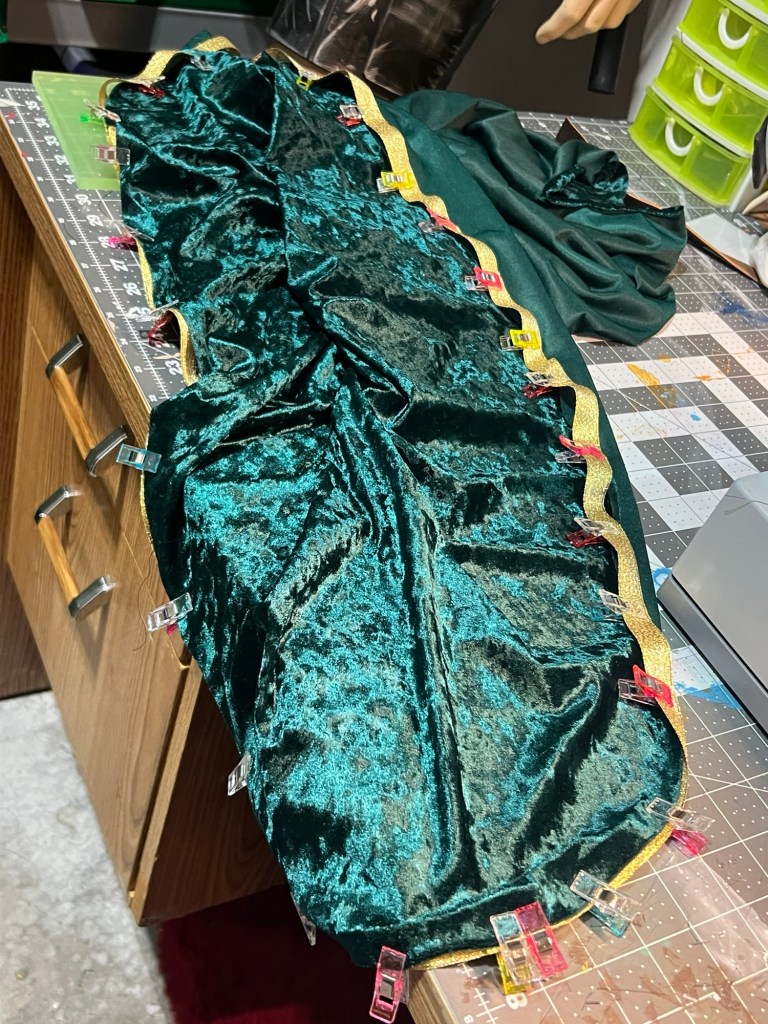
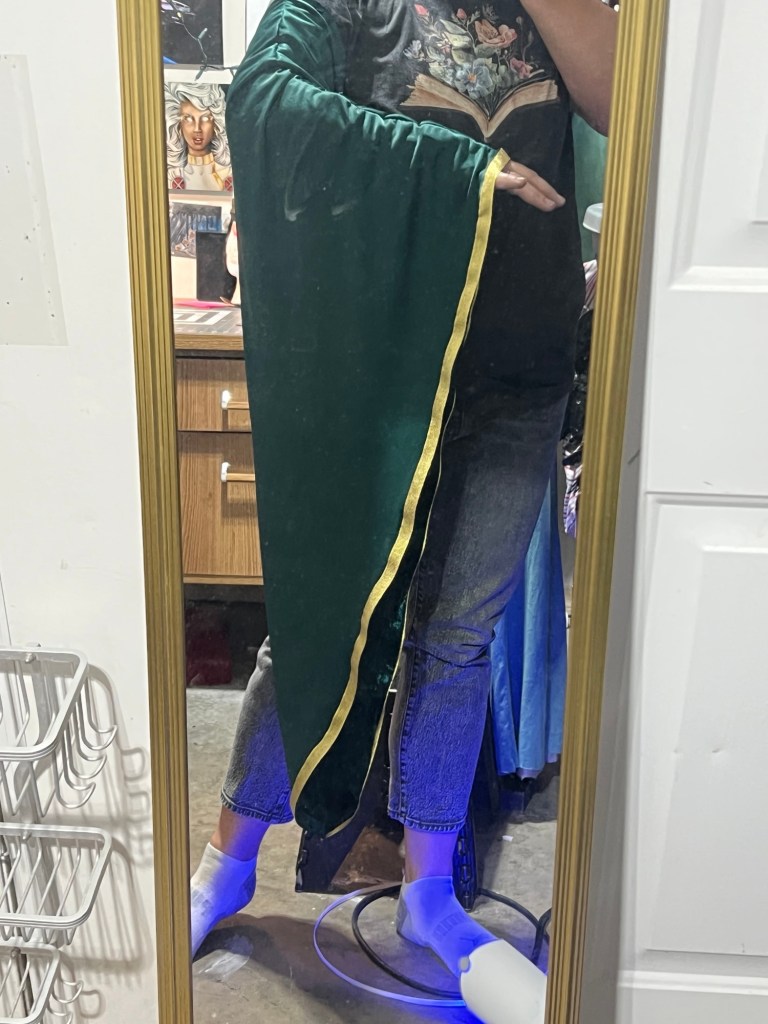
The references showed that she had the dark green fabric not only on the fitted arm sleeve, but also a flowing trumpet sleeve. I wanted to sew the dark green trumpet sleeve directly to the short emerald green outer sleeve. I was then going to sew the emerald trumpet on top of all of it. I tried two different sleeves from the pattern (4940) and ended up going with the bigger one ( Sleeve A)


I then added gold trim, and sewed it all together. I made sure that the shiny non-velvet side was sewn facing up so that the inside of the sleeve would show the velvet.

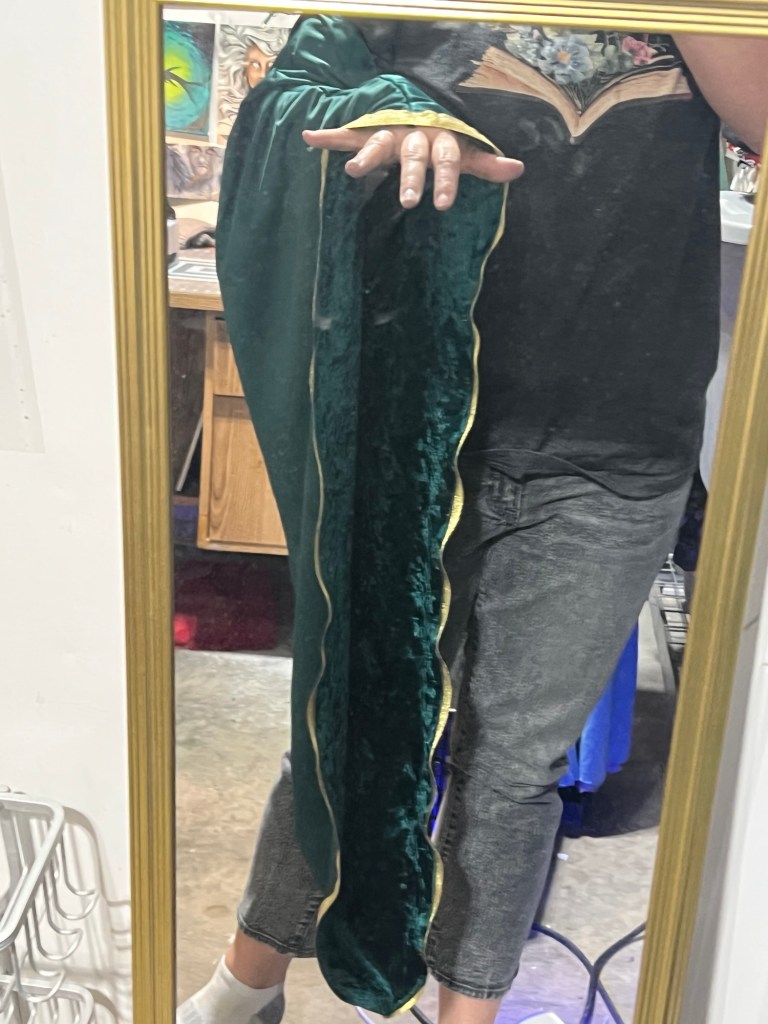


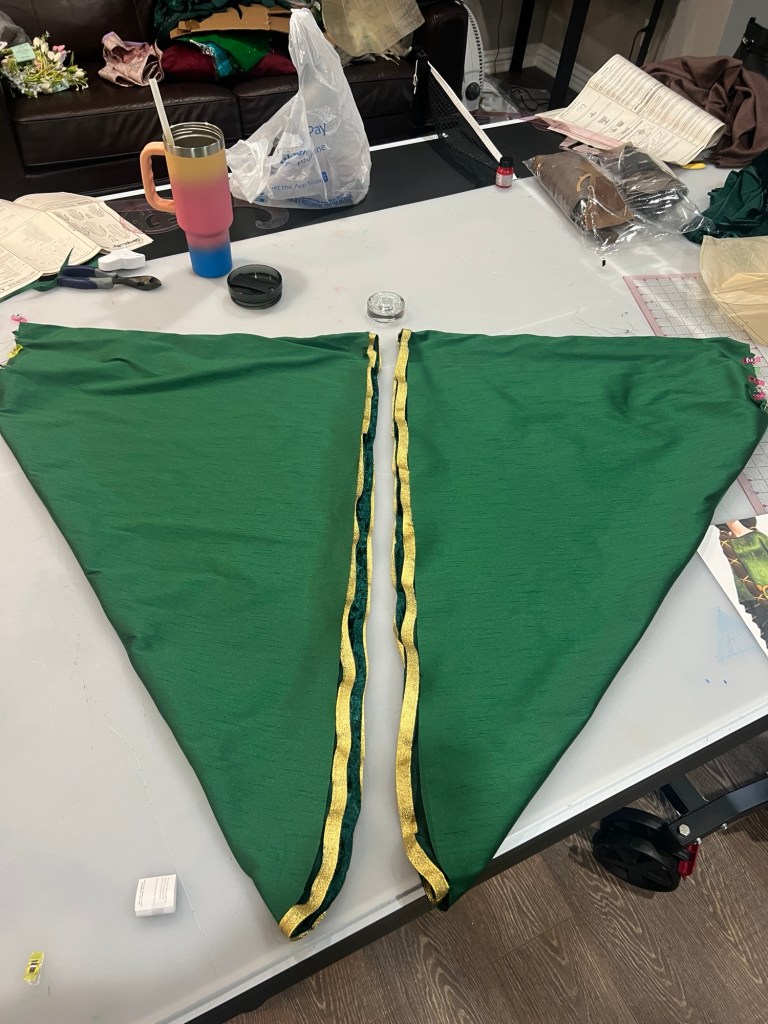
I then made the outer emerald green trumpet sleeve. I had to check that the sleeves lined up right. I did have to go back in and shorten them a little so my hands would show.


Now it was time to sew the bodice together and ADD POCKETS!!!!!!! I HIGHLY recommend to add pockets to any costume you can. It was so helpful to carrying my phone, keys, wallet and SNACKS. For the pockets I just followed the pants pattern my daughter was using at the time. McCall’s 7907 I then cut the slit in the front.


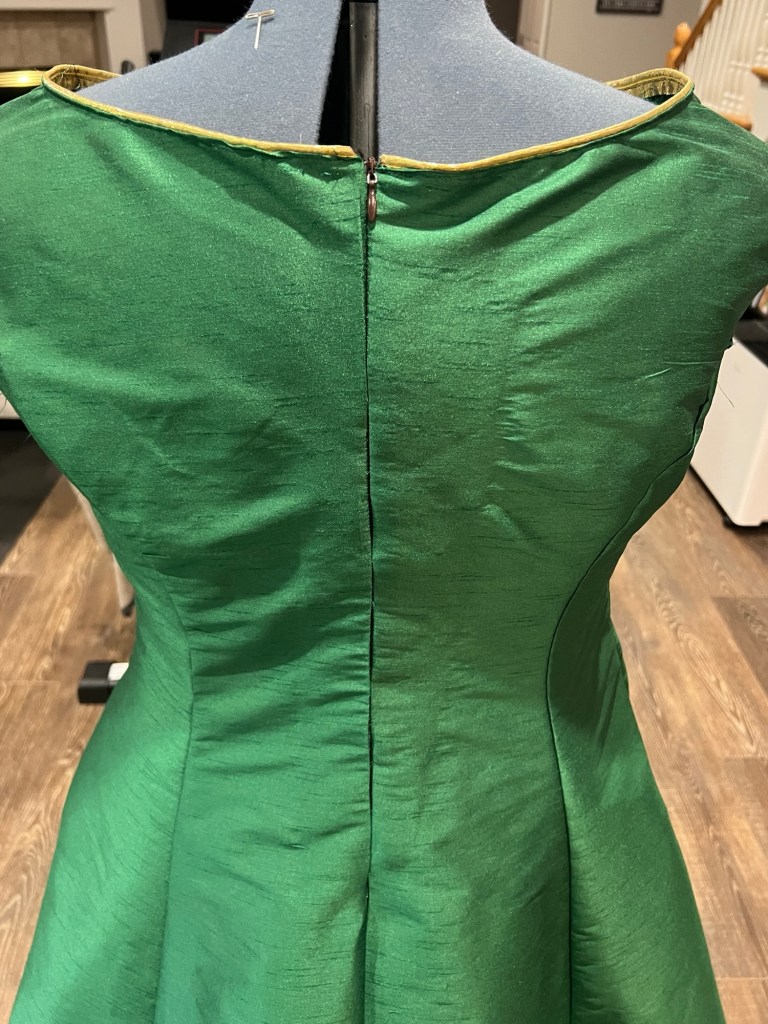
Now for the gold trim on the neckline, adding a zipper and hemming the slit.


It was now time to sew the sleeves to the dress!


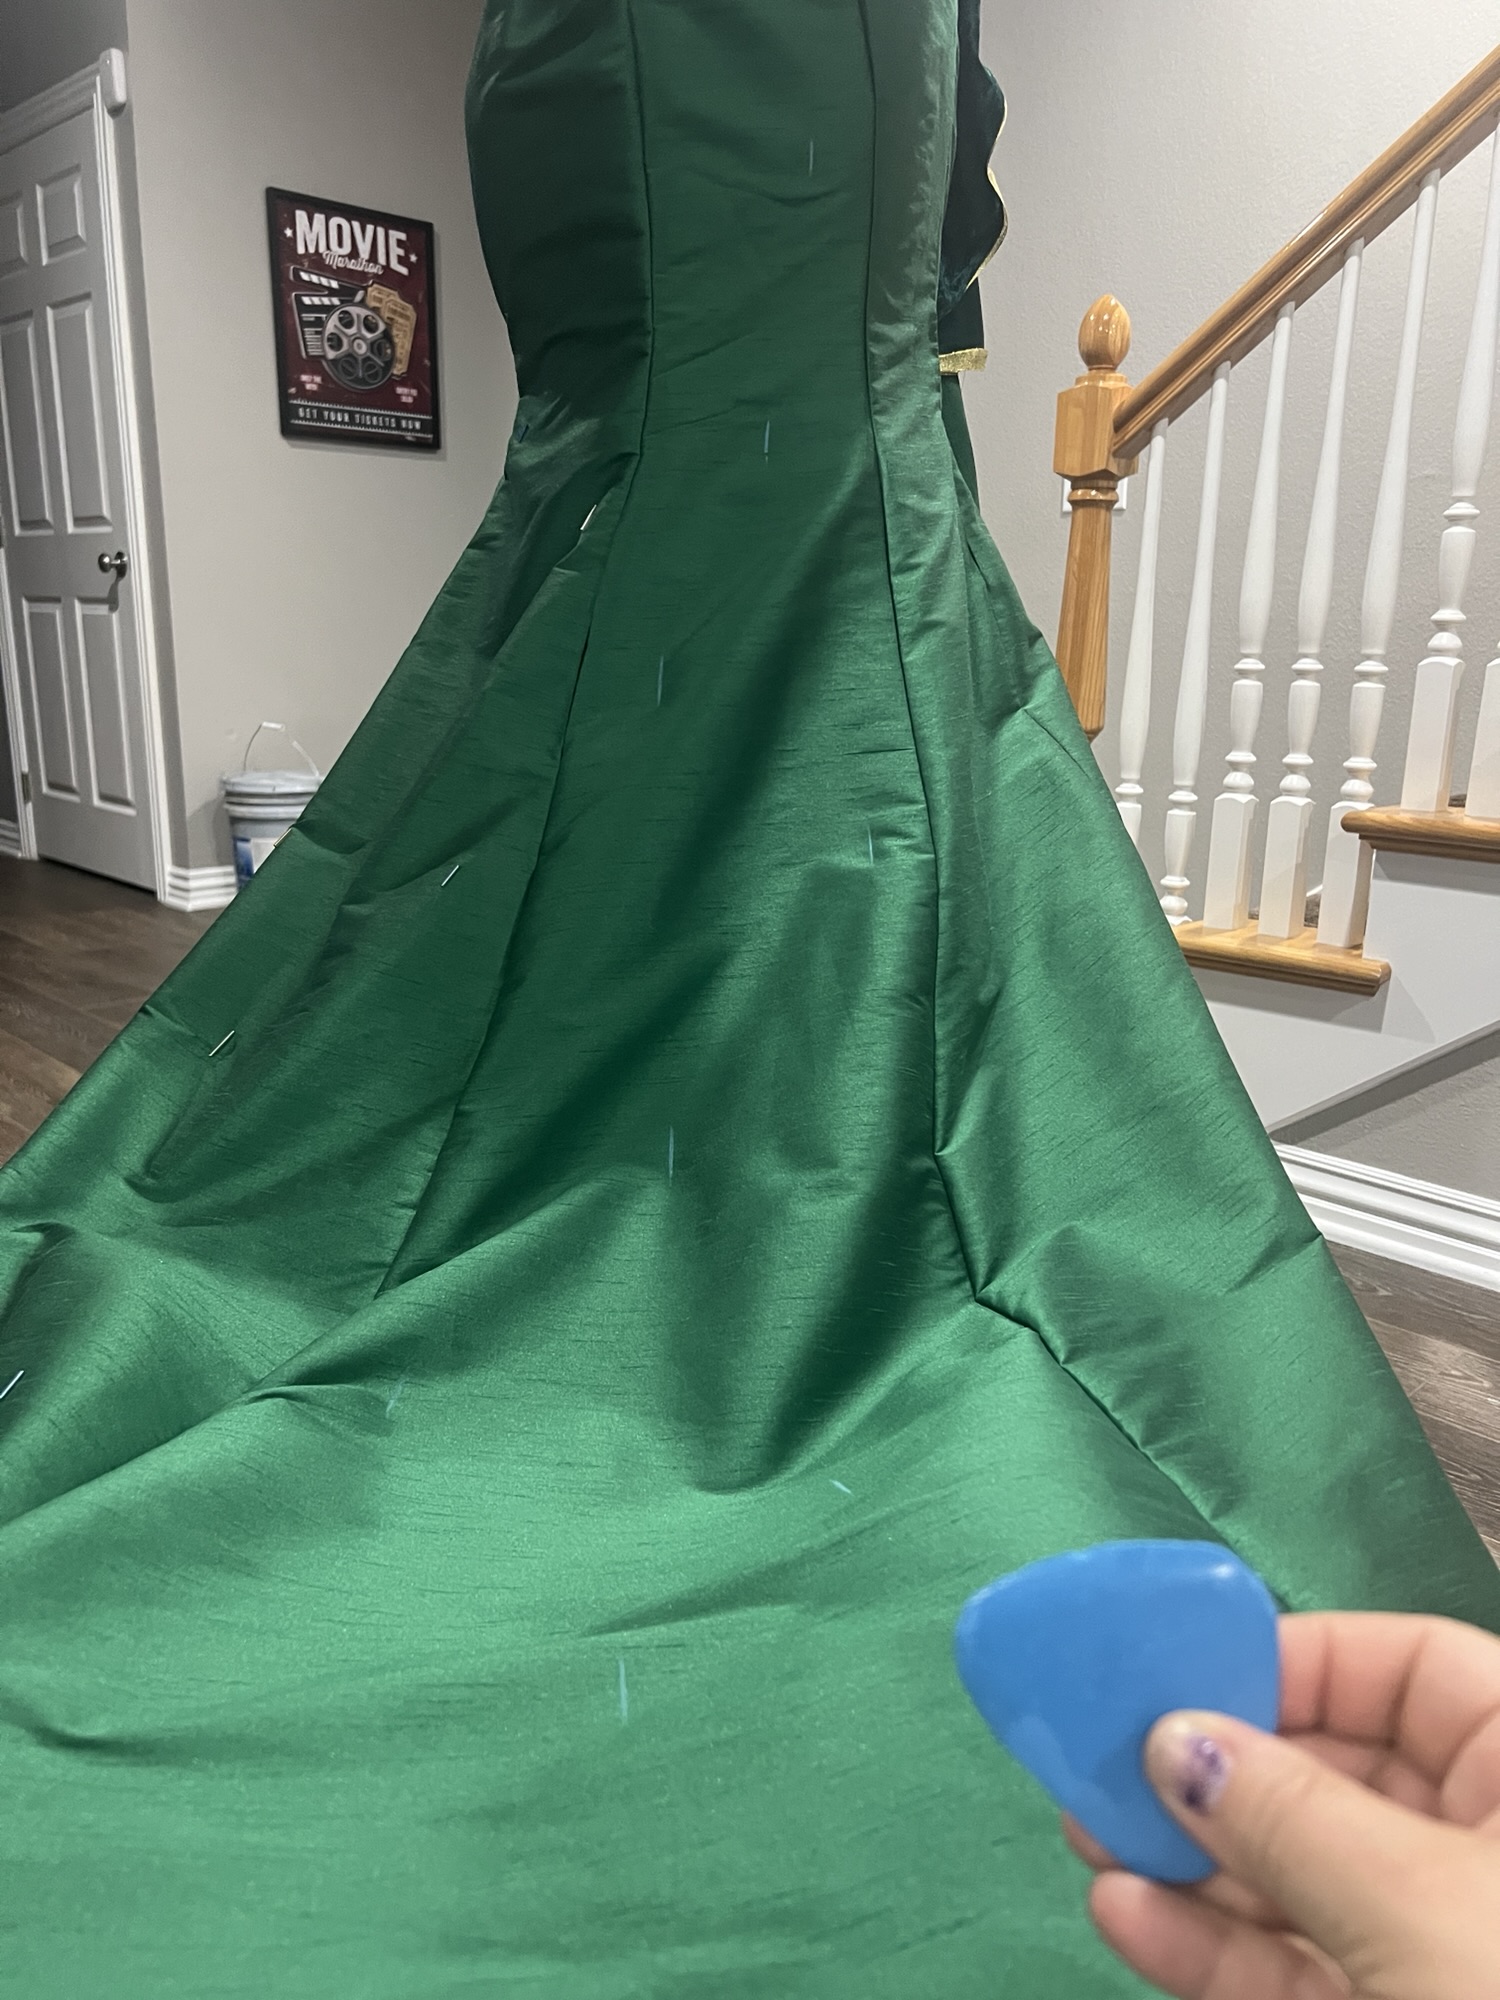
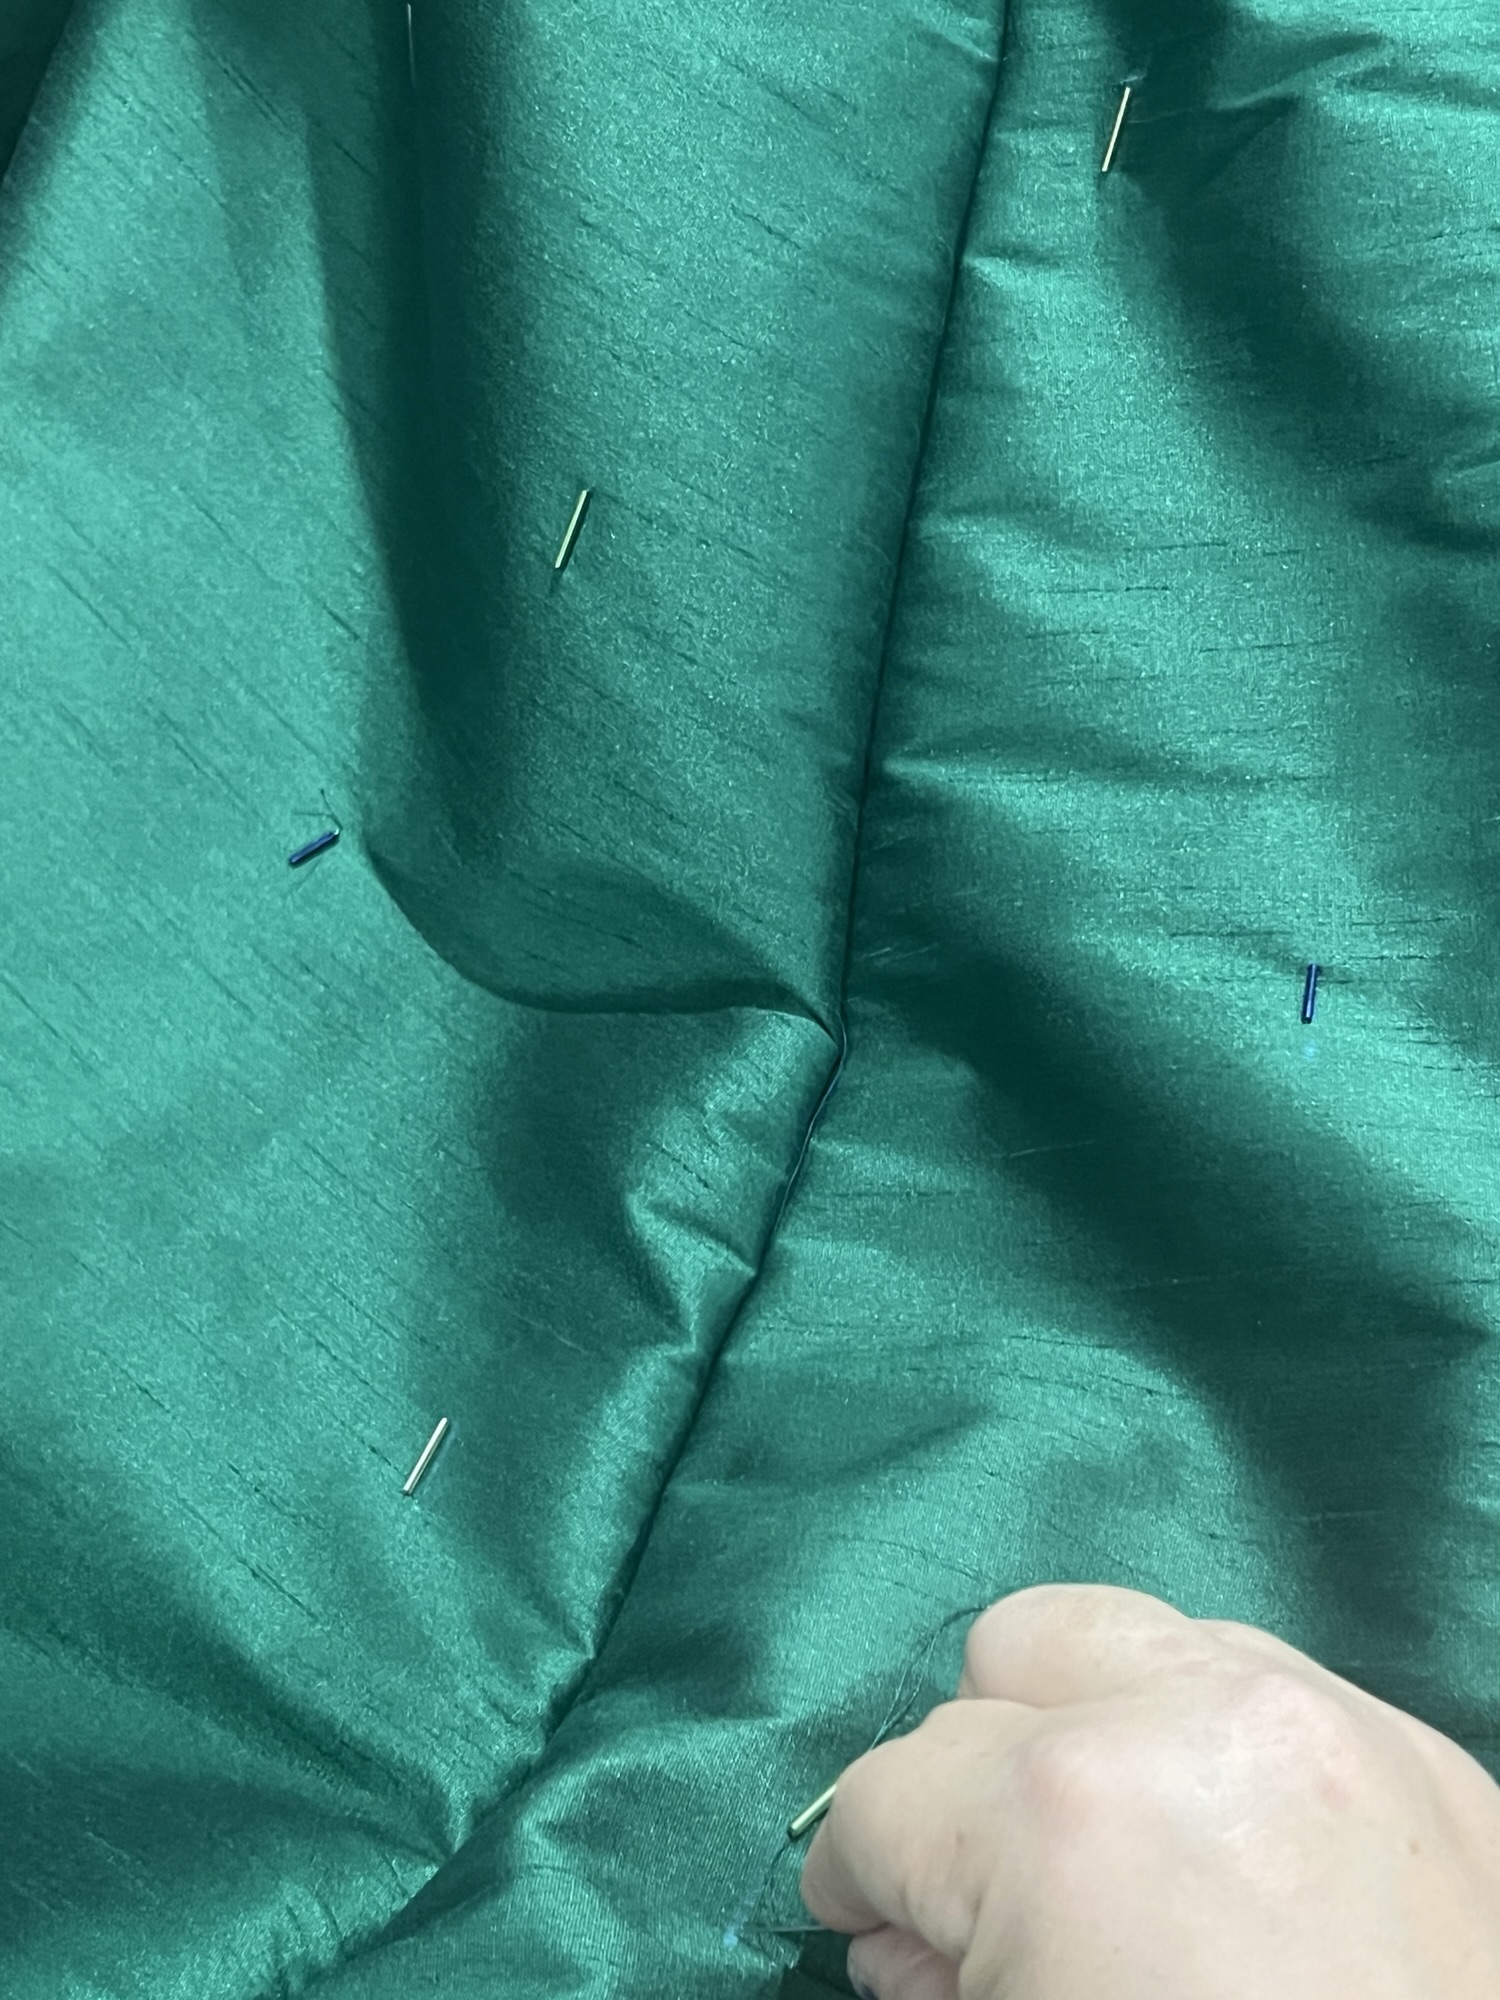
I now began the laborious task of hand sewing all the beads to the dress. I marked up the dress with chalk first to get the spacing right. I used a combination of sequins, glass beads, and rod beads. I sewed all the rod beads first, and then added bead chains in random combos around them.


Belt and Crown
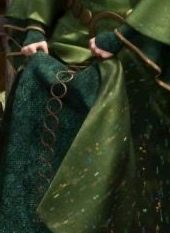
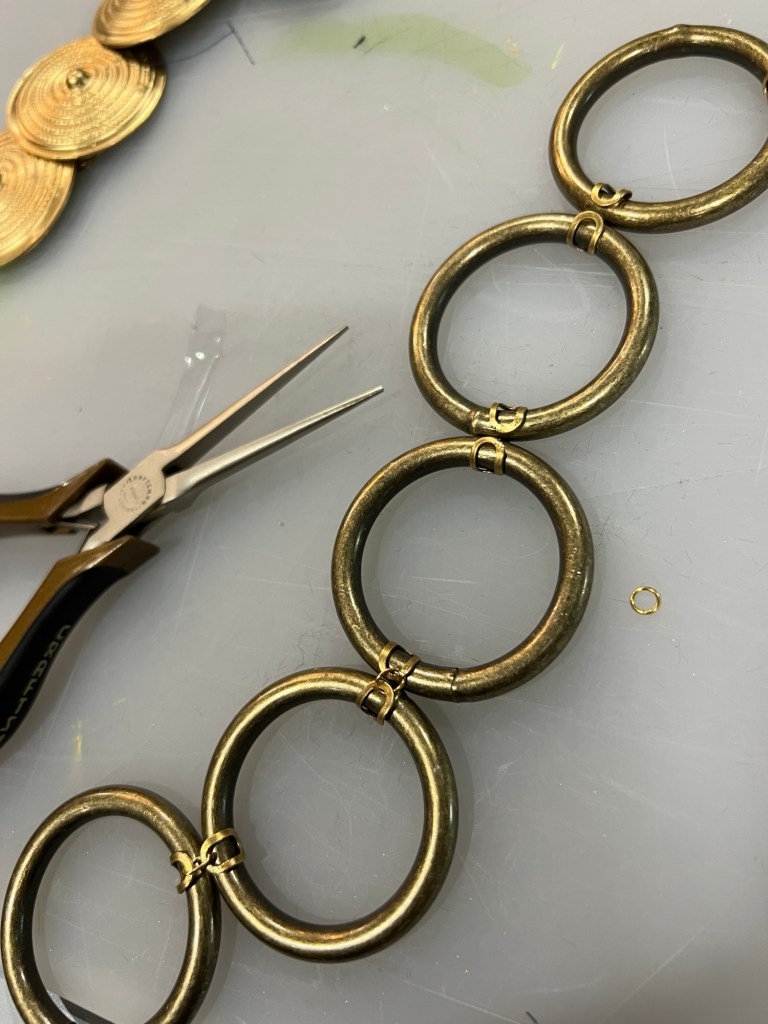
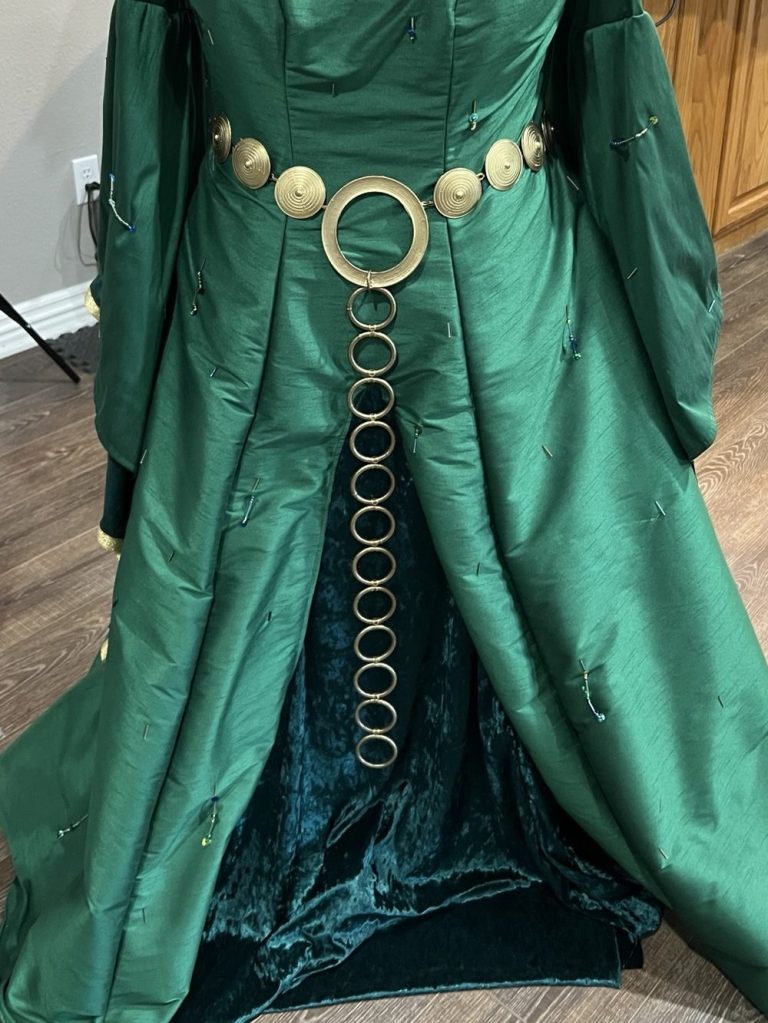
The belt was made by a combo of 3D prints parts and brass rings I got from Michael’s. I used a Celtic shield from Thingverse and just shrunk it down to about 2 inches in diameter. The center ring I just made from this design on Thingverse as well. I made it to be 4 1/4 inch in diameter.


I then used a brass plumbers chain to connect all the disks to each other. I was afraid that if I tried to connect them to each other the belt would fail. I needed something solid underneath the disks so that I could just glue them to the chain. I also ended up using the plumbers chain to also be the connecting pieces for the large heavy brass rings. I just took off the links and bent them around them. I glued the chain hooks to the middle circle.


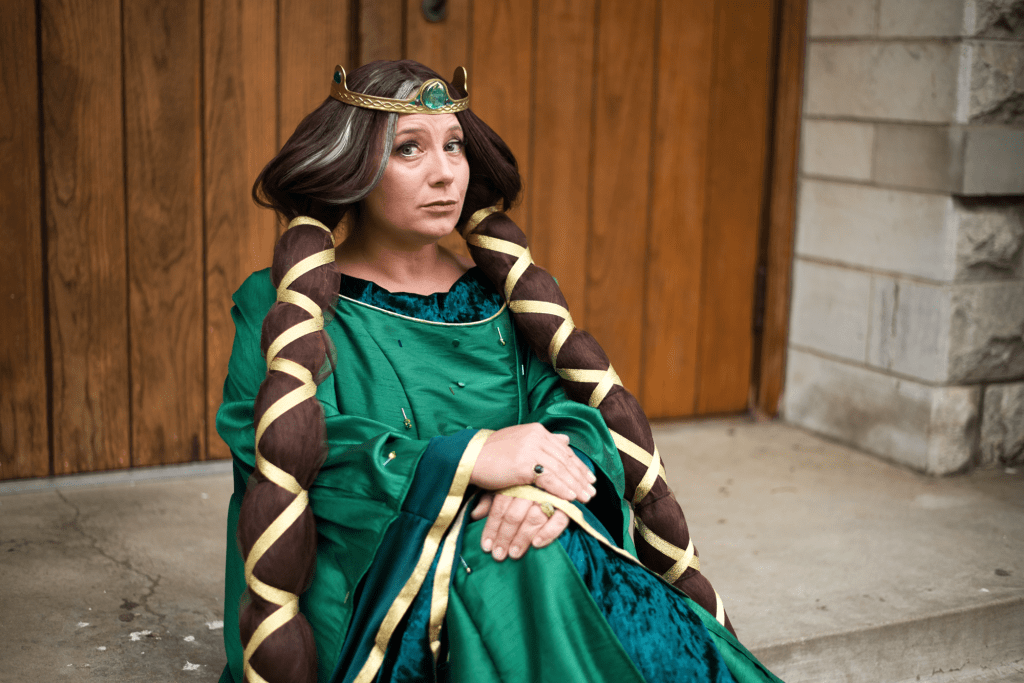
The crown was also an easy print from Thingverse. The 3D prints were all finished with smooth on and then painted. For the crown I had an old necklace pendant that I used for the center stone. I then added paint and jewels to the rest of it.


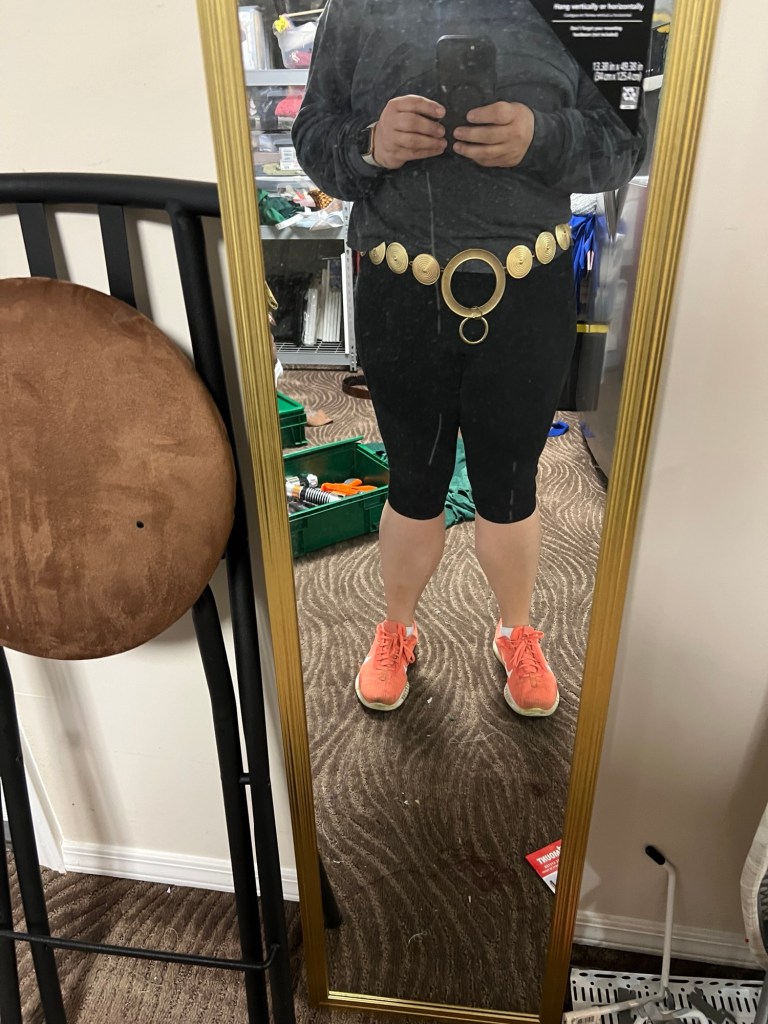
The belt enclosure worked great for the first time I wore it. During a recent photo shoot though, the belt broke at the center ring. We had to rig it with hair ties! I have decided that works much better than the original! I am actively waiting for some gold hair ties to come in to replace the photographers black ones!

As seen in the picture above, I did end up adding front buttons to the dress to be more accurate. I just painted some white button beads a color that matched as best I could.
The first time I wore this, I put a bunch of clip in extensions in my hair and tied gold ribbon to it. It hurt my head so badly at the end of the day, that I decided to make a wig. That has its own page which I will post later!


Thanks for checking out my post! If you have any questions on how I made something, please feel free to reach out anytime!