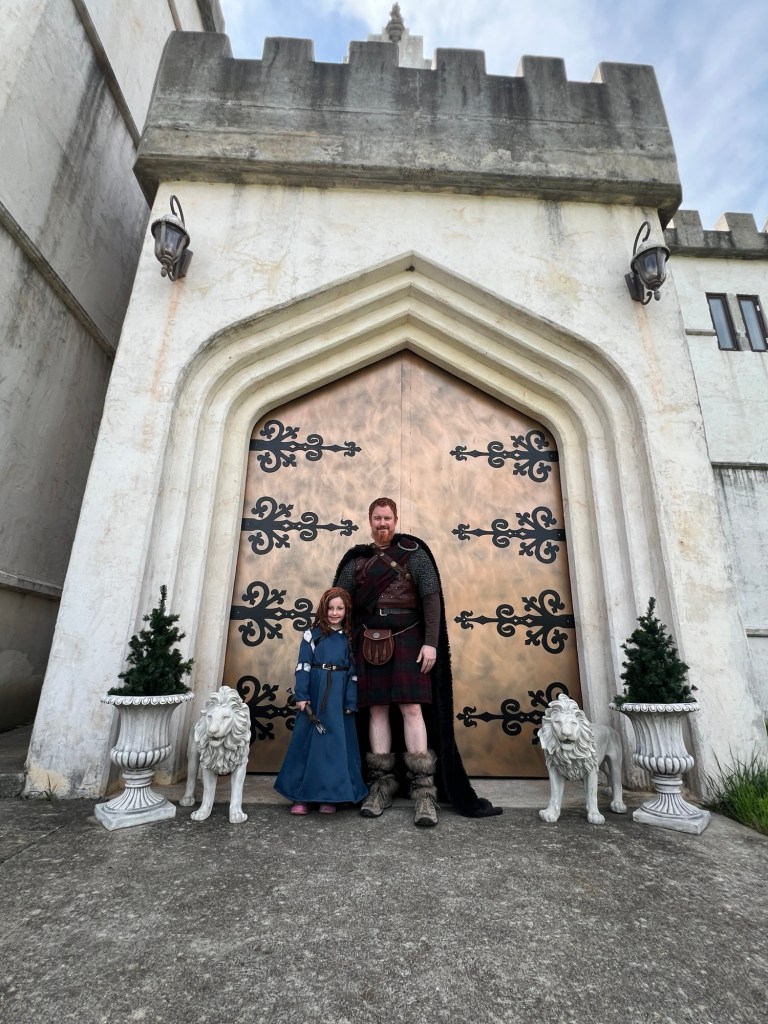
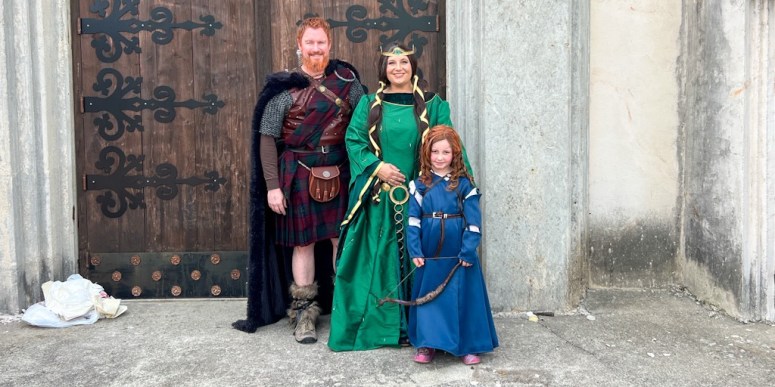
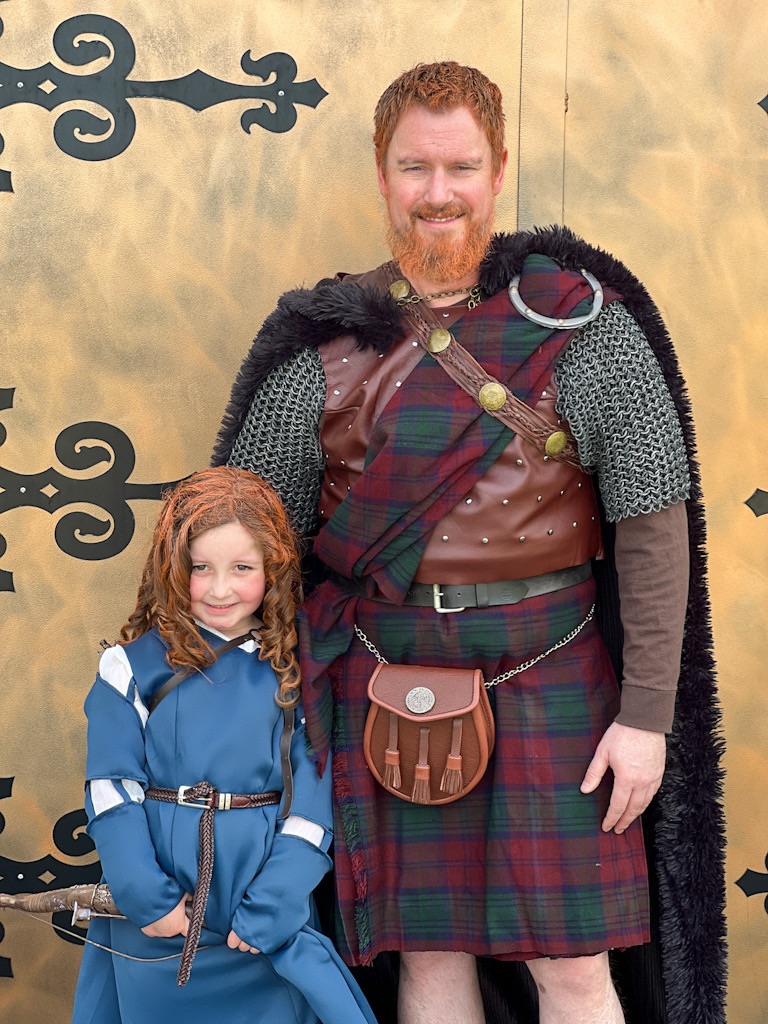
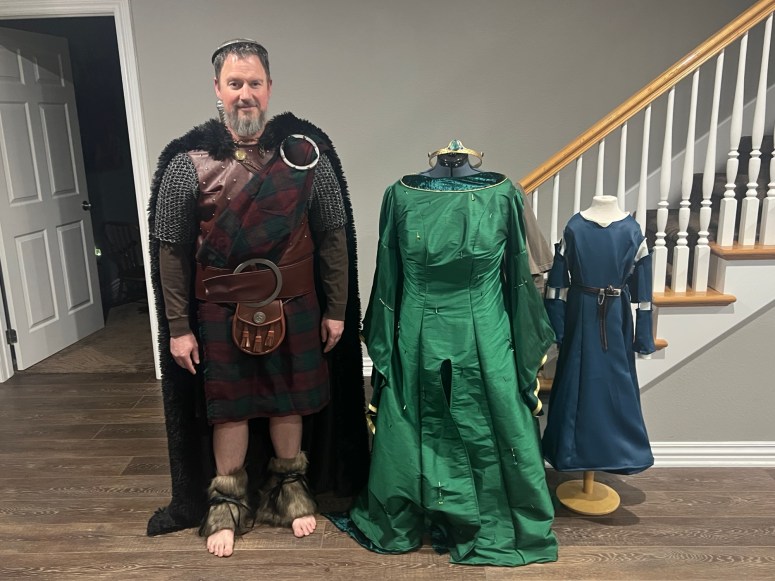
Here is process I did to make King Fergus, Queen Elinor and Merida from Disney’s Brave! First let’s start off with King Fergus and I will have separate posts for Elinor and Merida.
First, this cosplay I took some liberties with so it is not entirely screen accurate based on several reasons. First, My husband is from Scottish decent, and instead of using the tartan for the fictional Dunbroch Clan, we thought it would be better to use the Tartan from his actual family; the Lindsay Clan. After making that decision, and researching cost, it was cheaper for me to buy a kilt and tartan that it was to buy the raw accurate fabric! We bought our 5yd kilt and tartan from Kilt Experts. We were very happy with the company and the quality of product! They ship from the UK and we spent less than $80 for all of it.
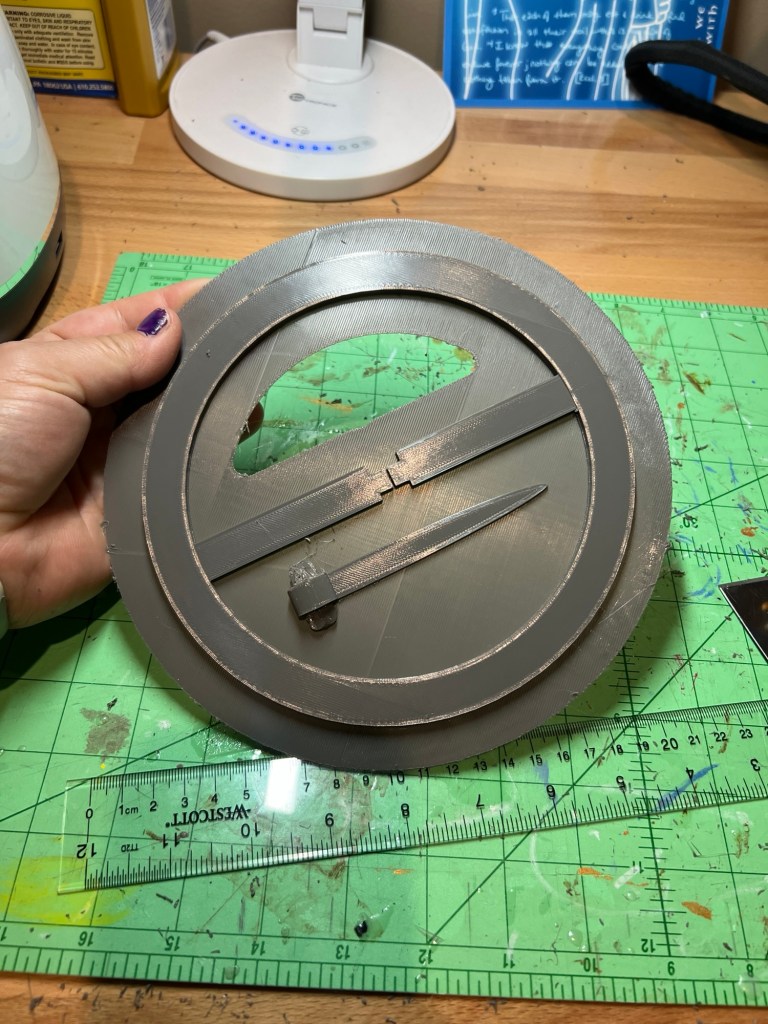
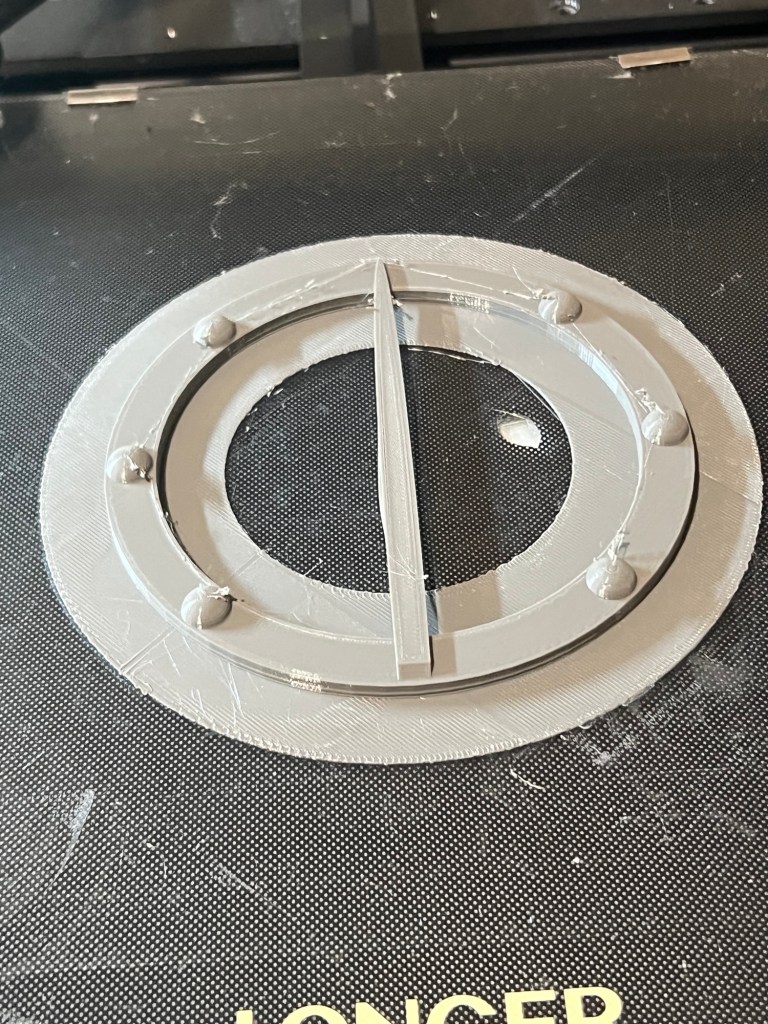
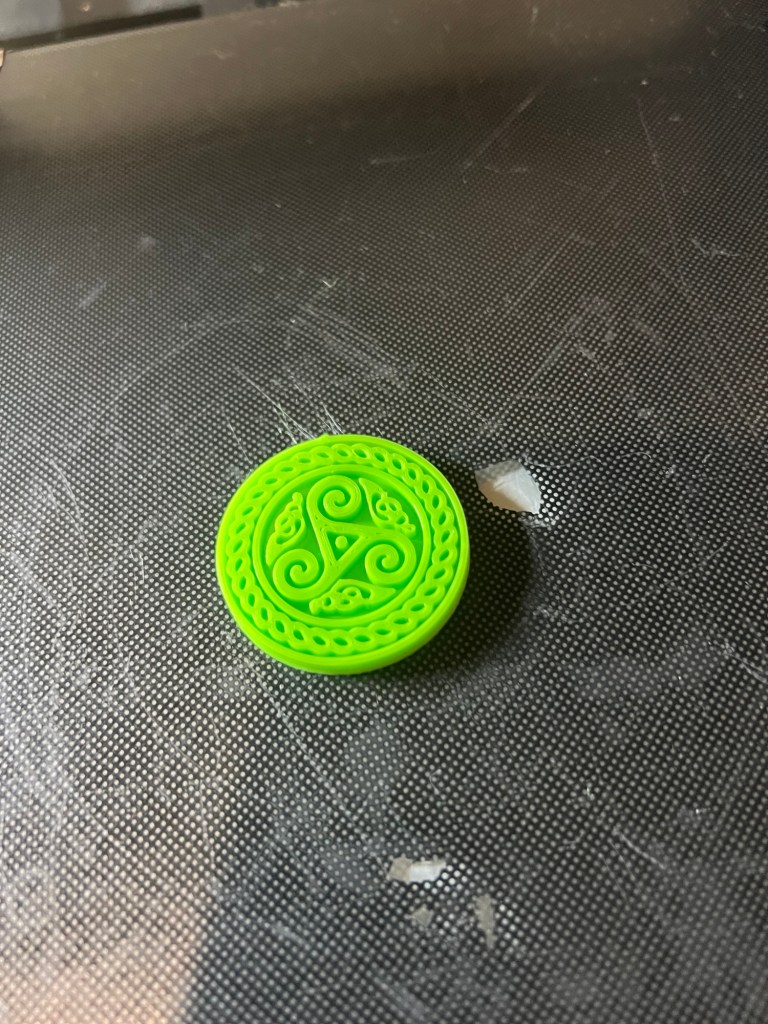
The other element I strayed a little from was the Sporran. (The man purse in the front.) I did not make this, I also bought it. Too many man hrs. I didn’t want to put into making it from scratch! I modified it with a 3D printed Celtic Emblem. The Sporran I bought here in brown. The emblem I downloaded for free from Thingverse here.

The other liberty I took was that I did not make a false leg for this cosplay. Instead, I bought some cheap Viking boot fur wraps from Temu, made him wear some hiking boots and called it good.
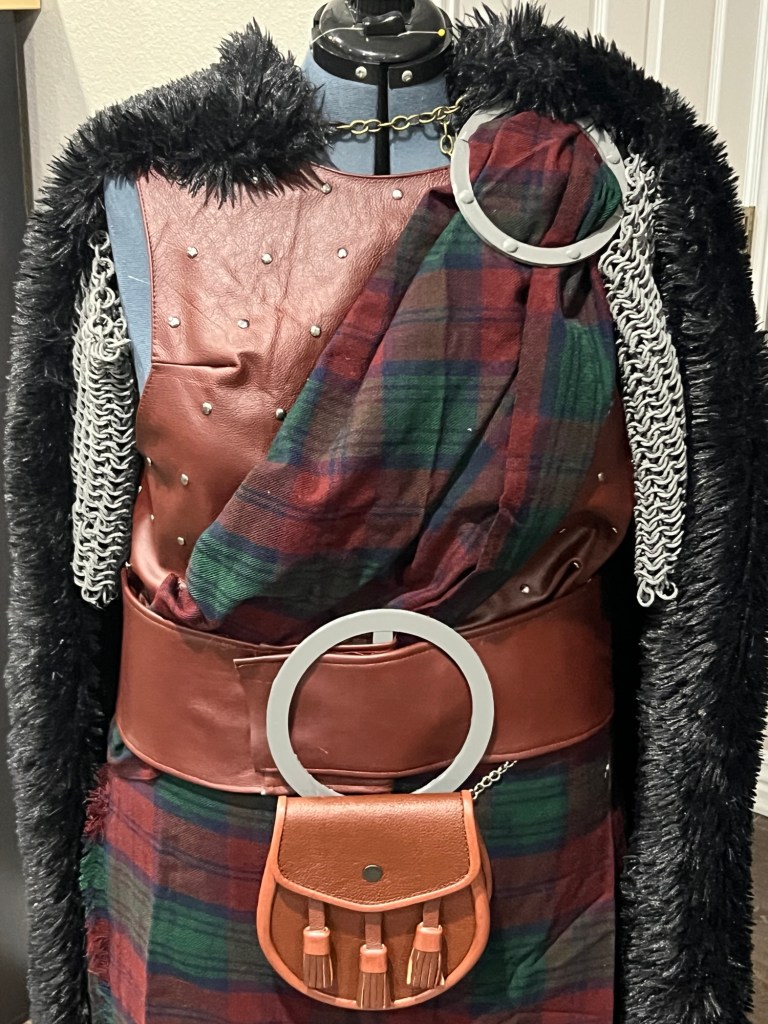
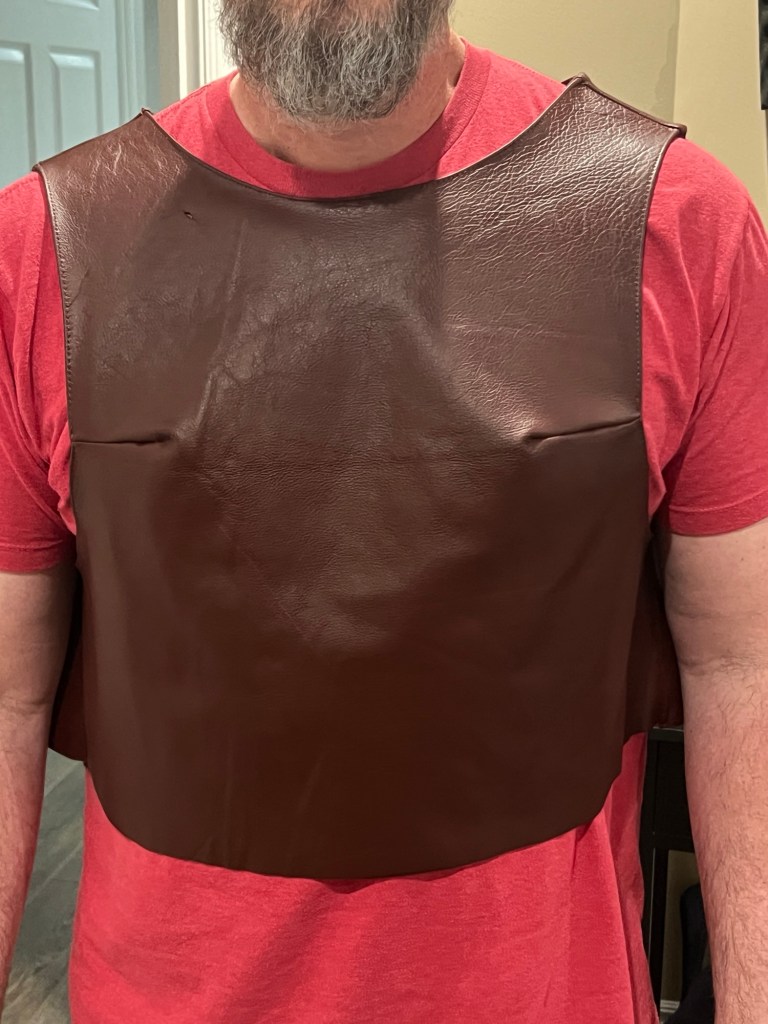
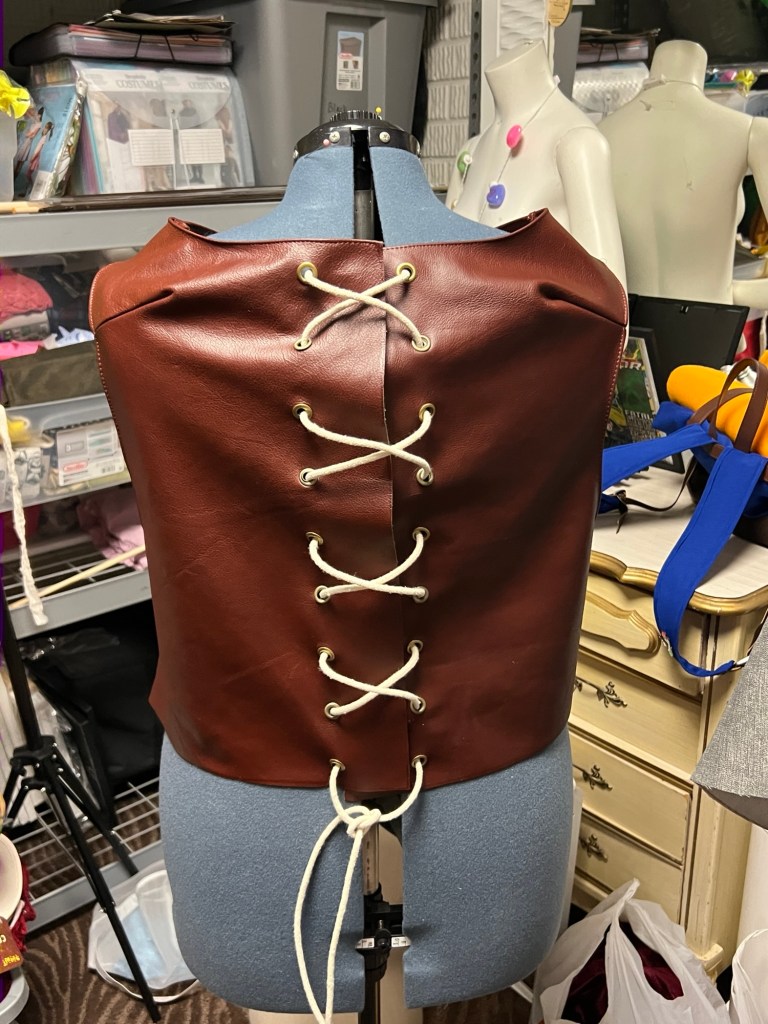
Leather Vest

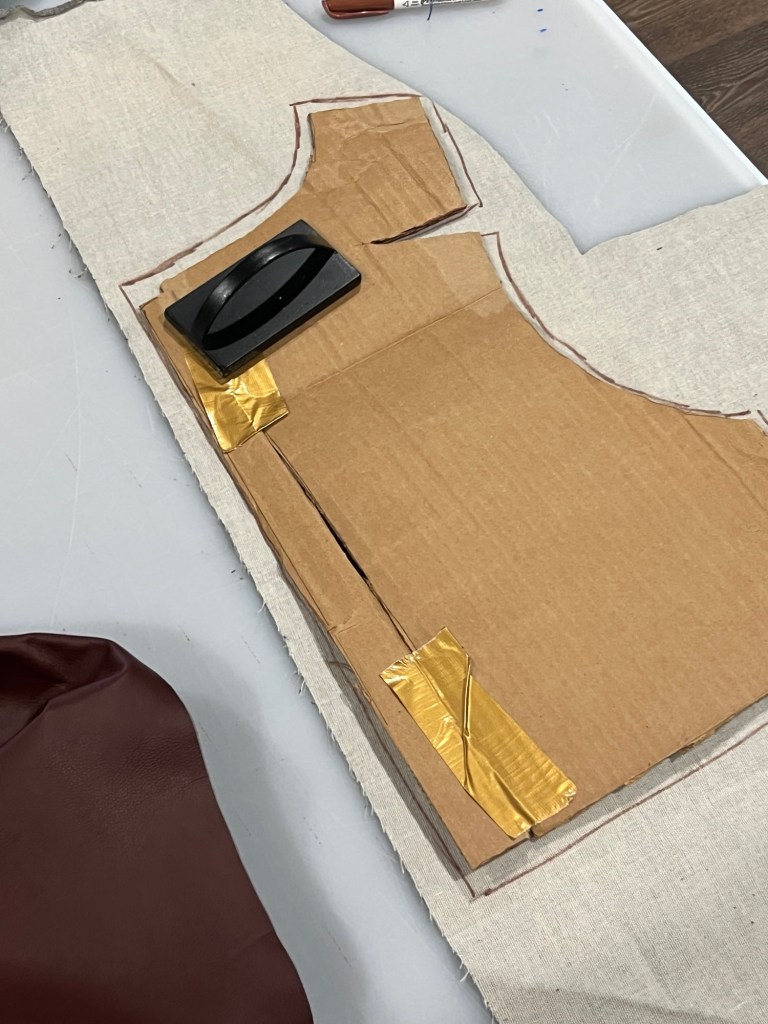
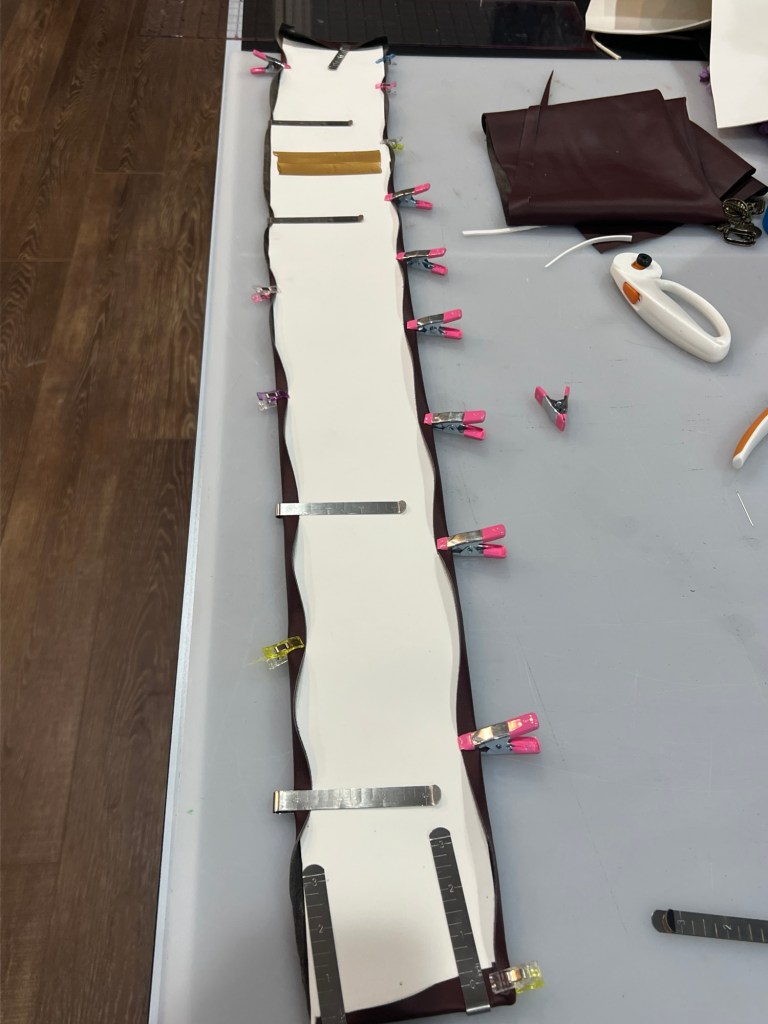
I used the duct tape method for this pattern. Basically I wrapped my husband in cling wrap and then took 6-12 in strips of duct tape and covered the area around his chest that i wanted the pattern to go. I then drew out the design and cut him out of it….carefully.


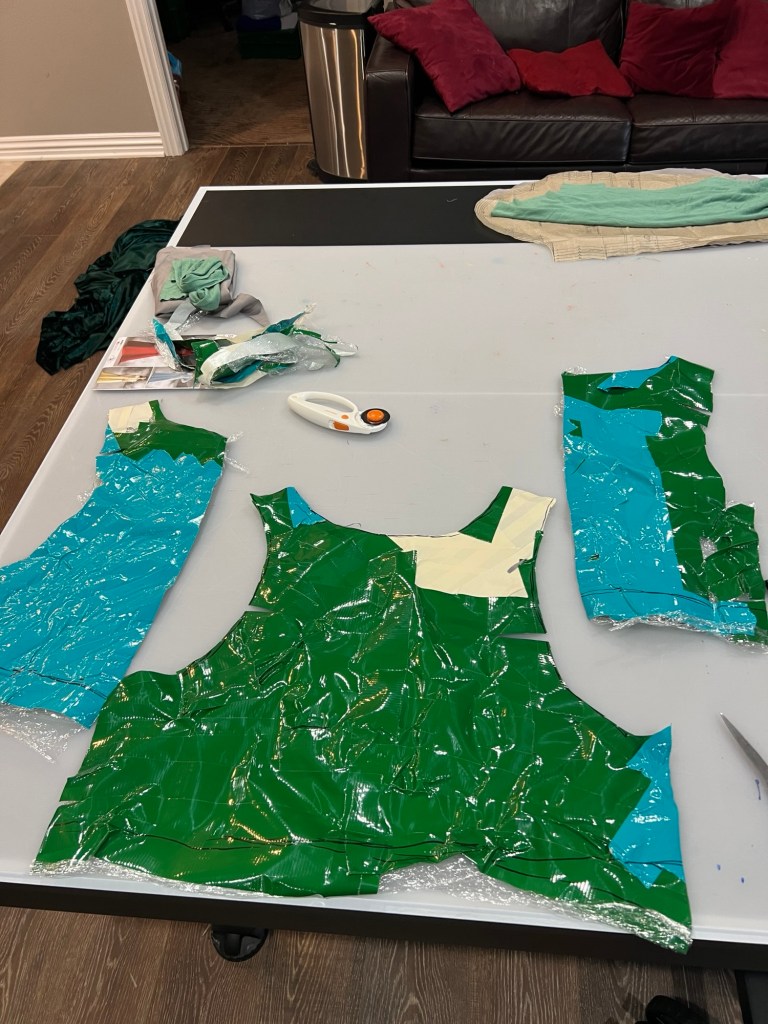
I then transferred it to cardboard for a solid pattern and then did a mock up with scrap fabric. Once I got the proper fit, I used my leather fabric and cut out the pattern.

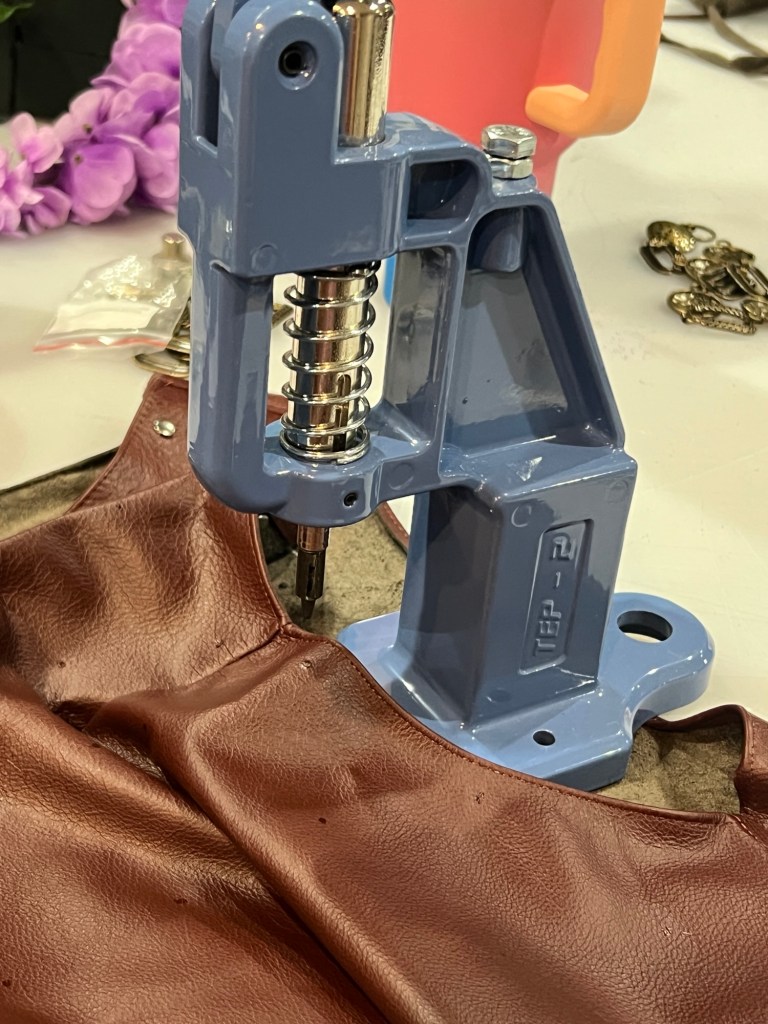
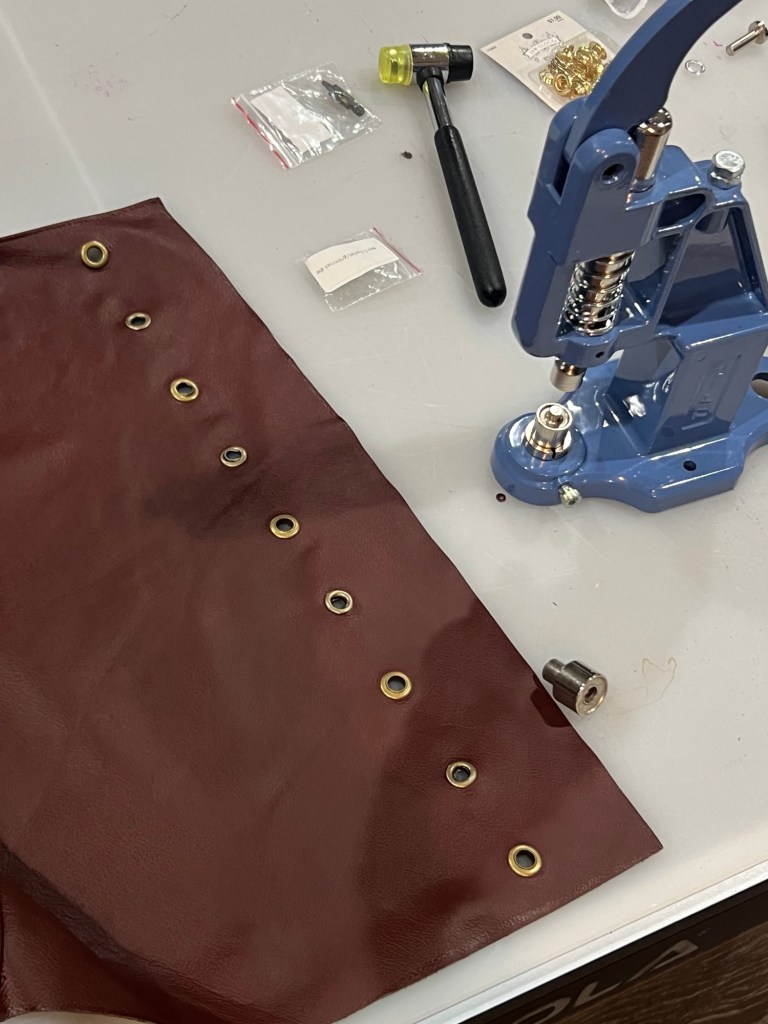
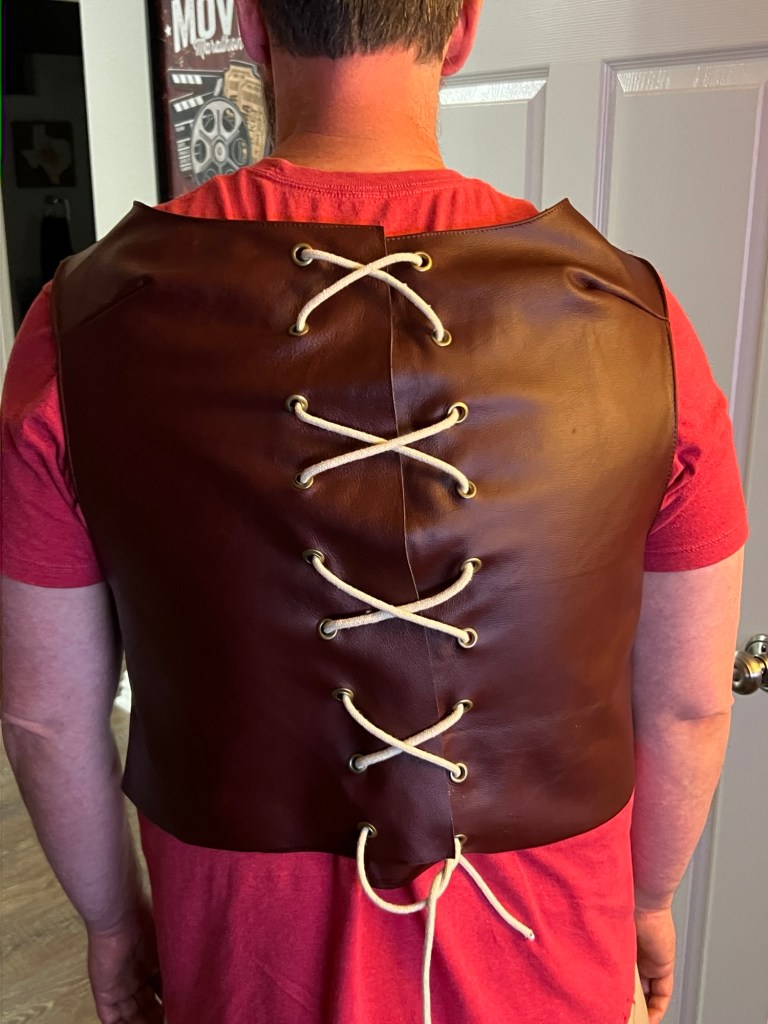
I then got to the Grommets and rivets. I have a grommet press which made the process much faster than by hand. I marked out where each rivet would go on the front and then added them. To finish it I added cording to lace it up in the back.


Bear Cape

This was way easier than I thought it would be. I went to JoAnn’s when they were eat 80% all the fabric, and they happened to have an already 1 yard cut piece of this fuzzy black fabric. I didn’t even hem it! I cannibalized an old chain belt and sewed it to the two ends at the top of the fabric. Voilà! A bear cape!
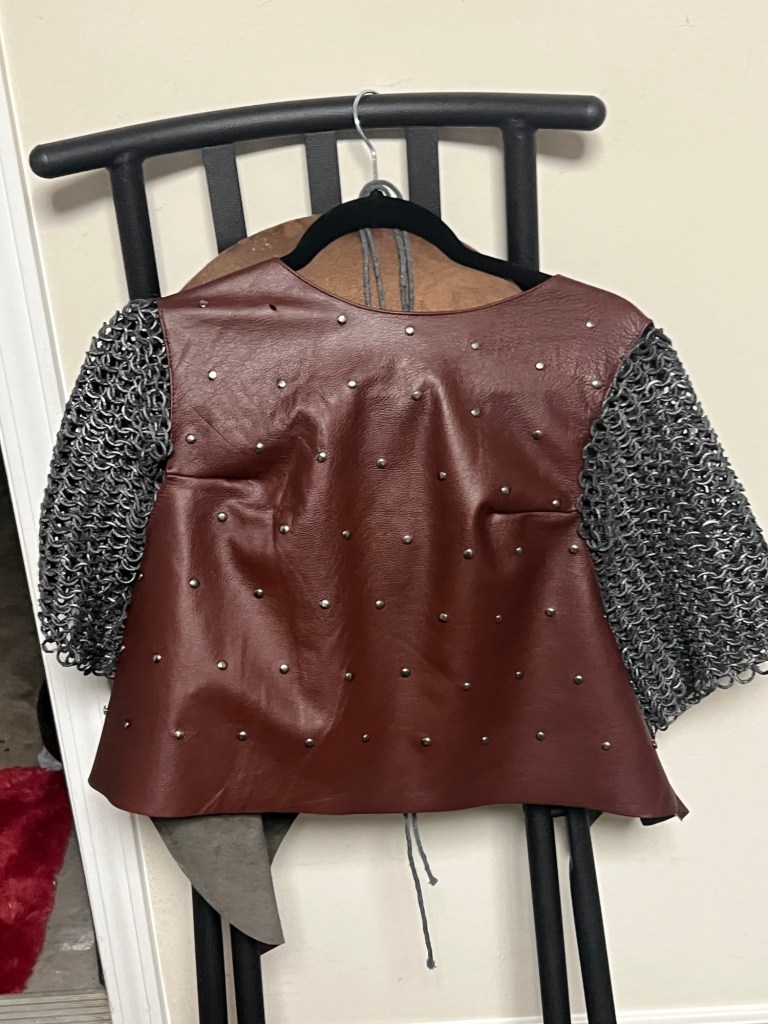
Chainmail Arms
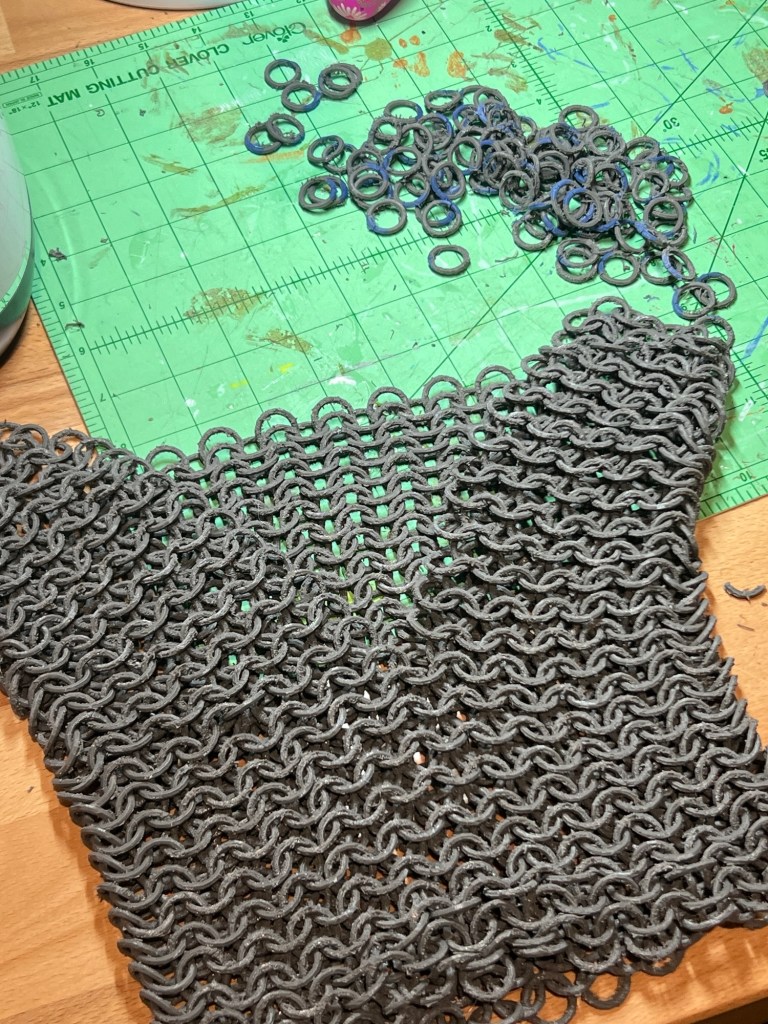
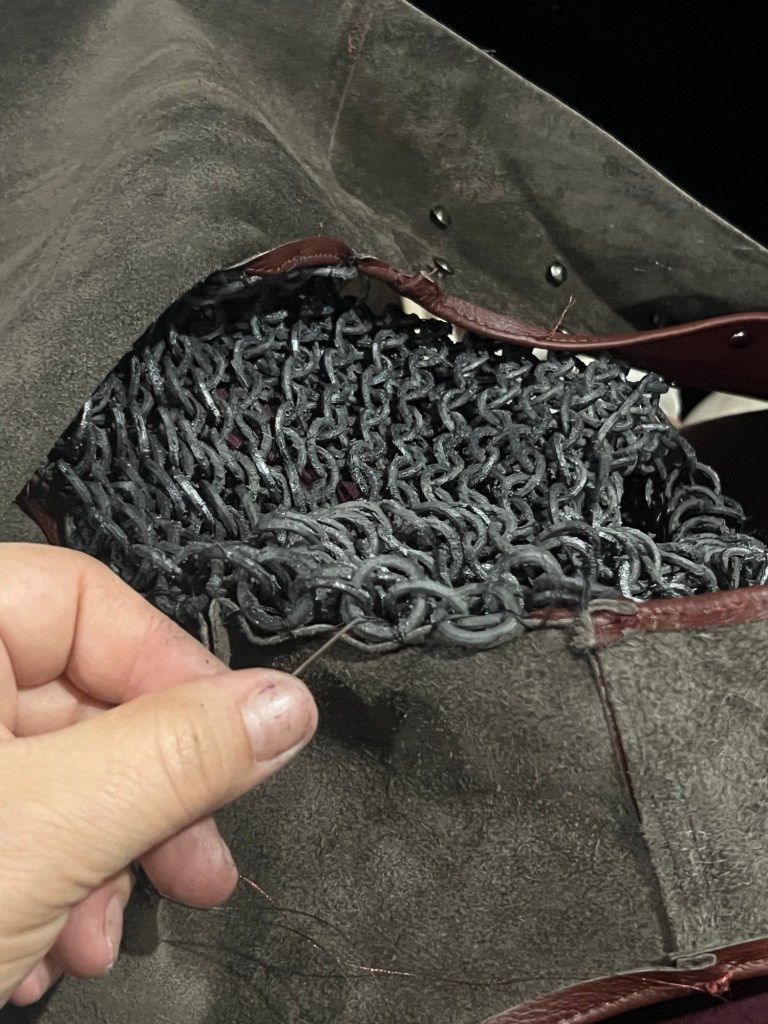
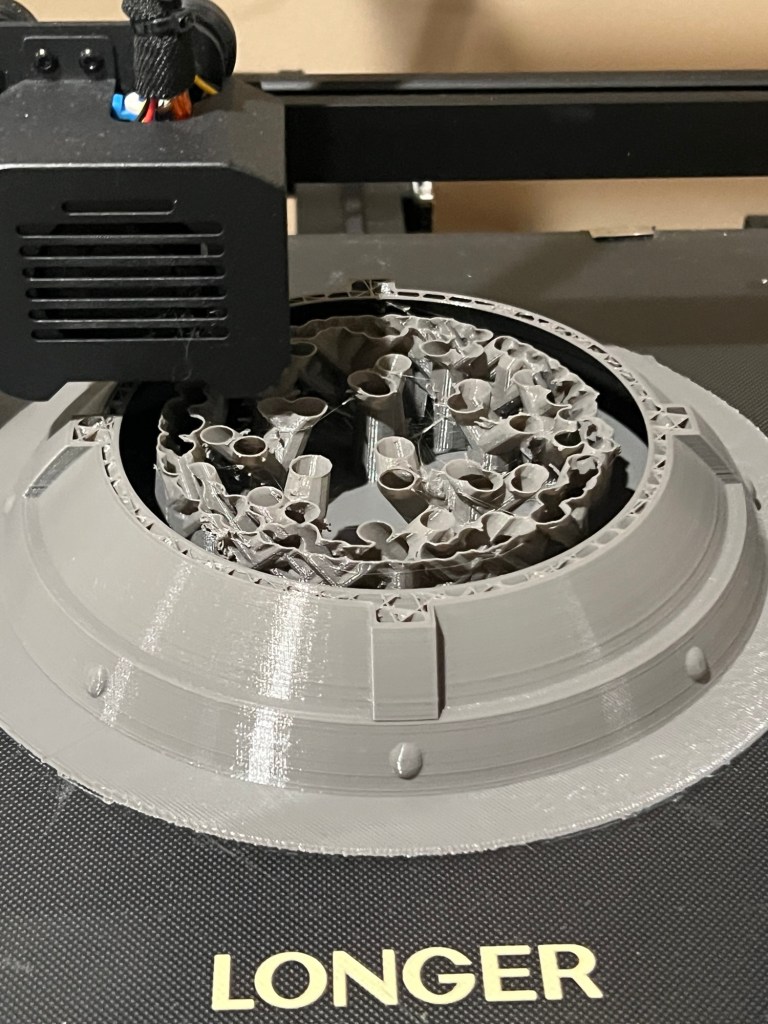
The Chainmail would not have been possible without the files from Propsmaker. The cost was well worth it for these STL files! I used my Longer 5Pro to print. It took 5 days of printing time for one sleeve!!

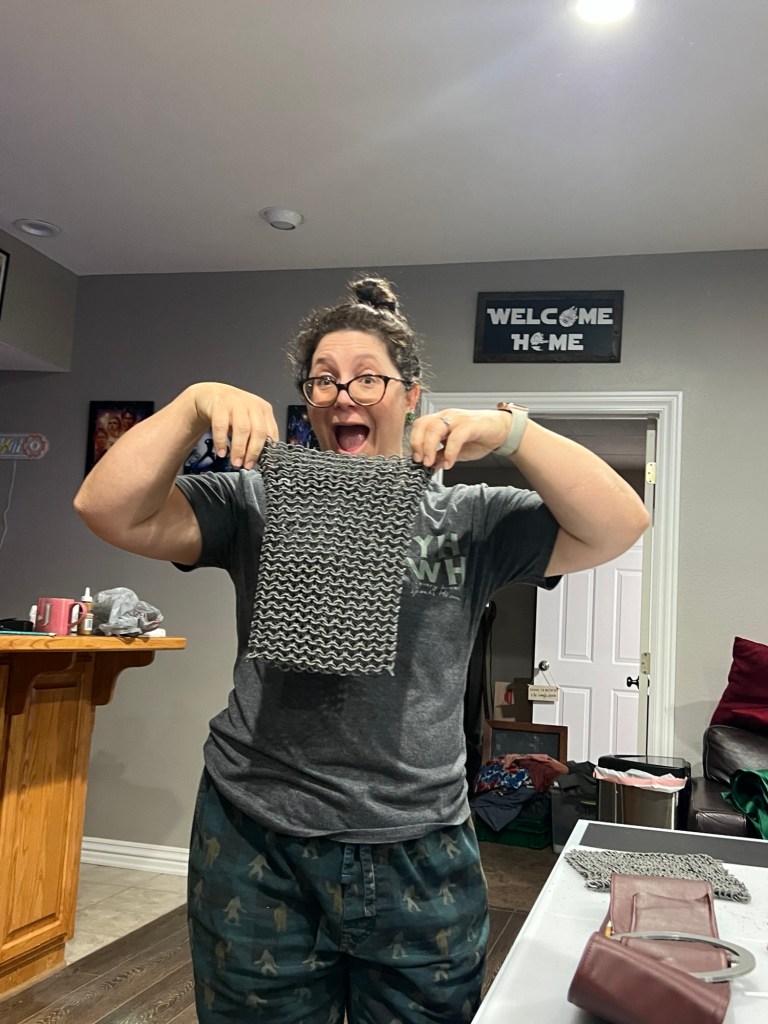
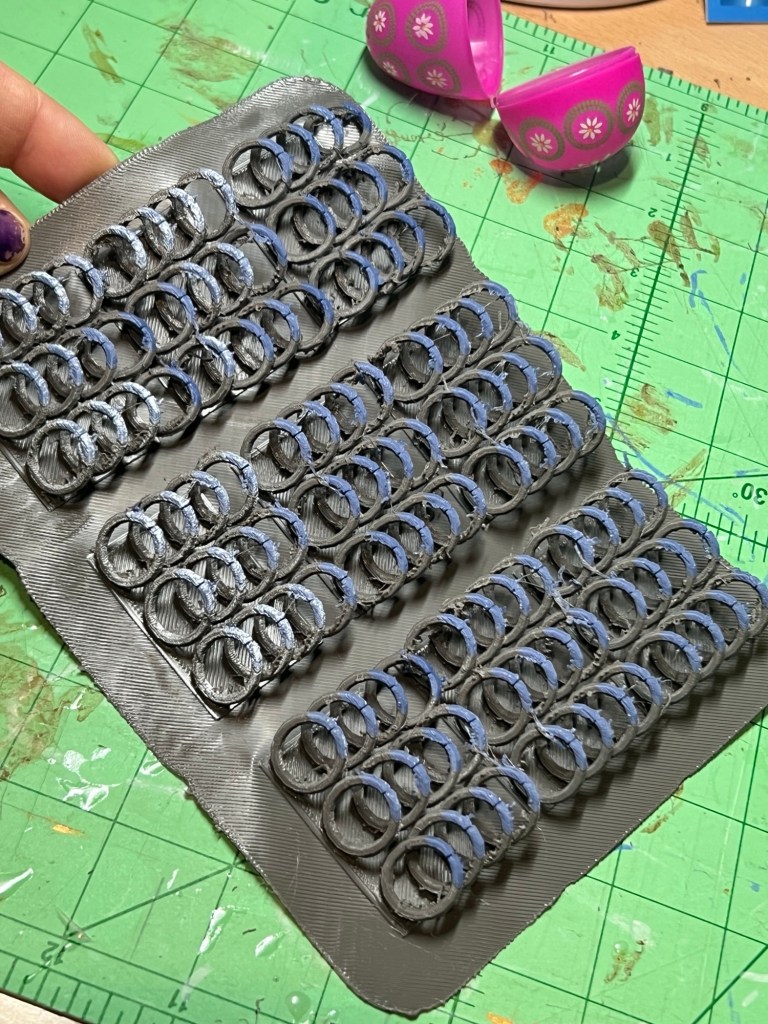
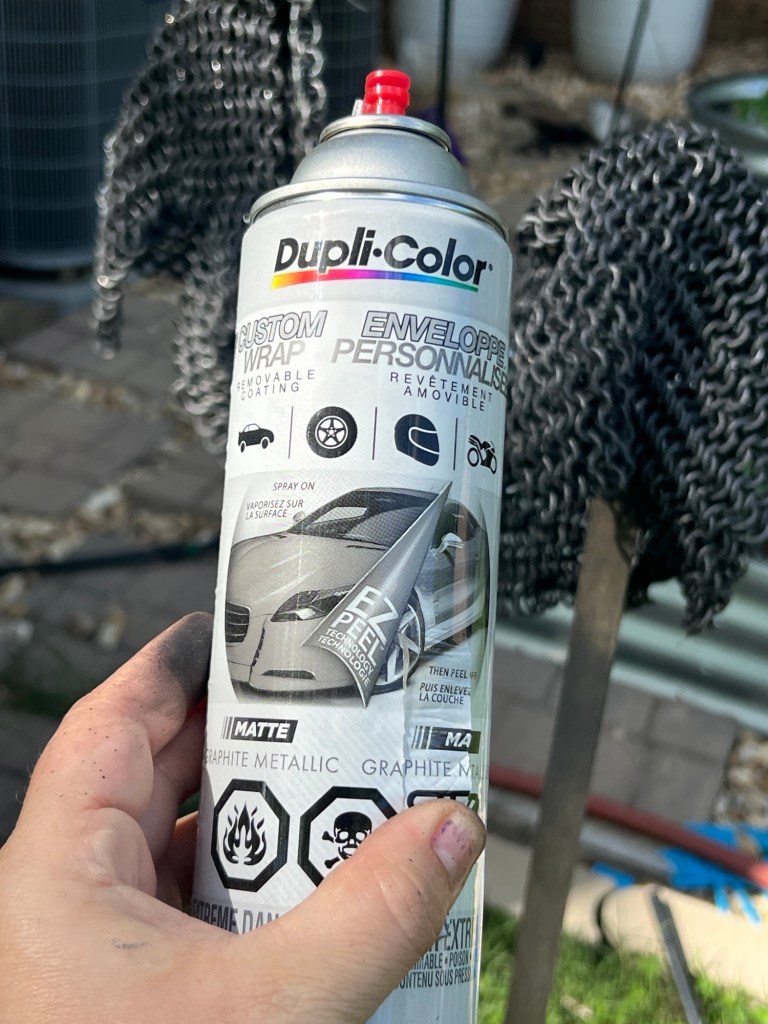
To finish these, I couldn’t really sand them so I would scrunch them together as much as I could to get any little bits off of it. I then sprayed them with a coat of flexible seal and then a final layer of silver spray paint.

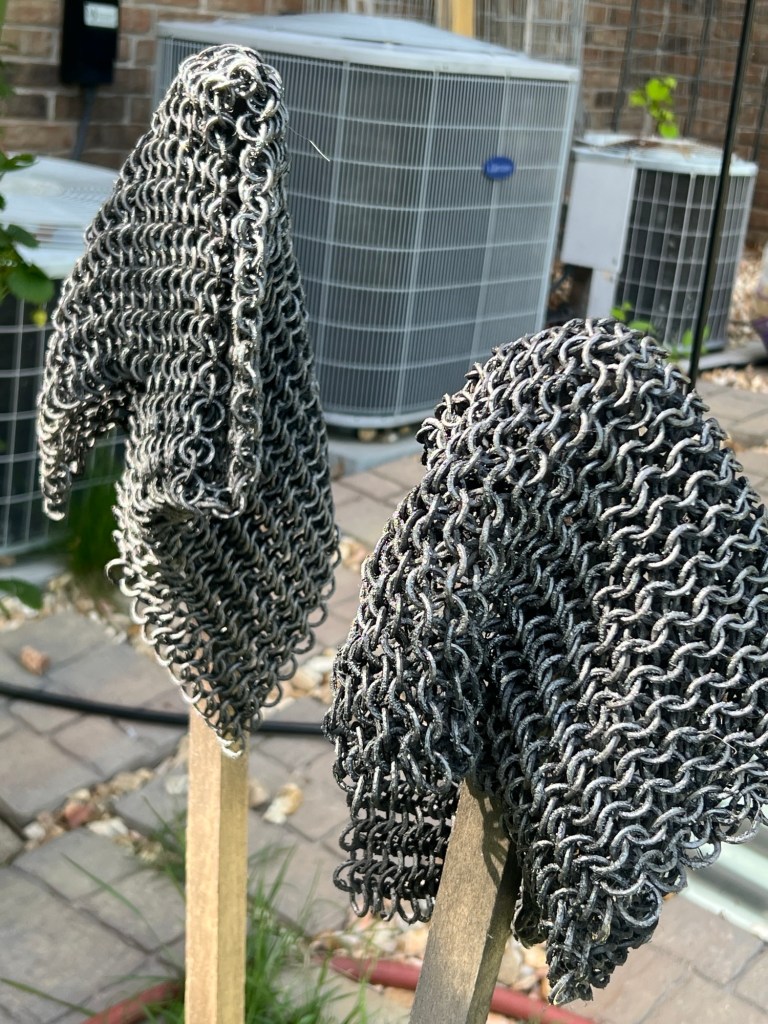
I then decided instead of making a whole chainmail shirt, I would just sew the sleeves to the leather vest. First though I had to open up the sleeves because my husbands biceps were too big! When he first tried them on he couldn’t move his arms at all. The chainmail was still a little scratchy but he ended up wearing a long-sleeved shirt underneath and it ended up working out great!
Belt, Kilt Pin and Helm

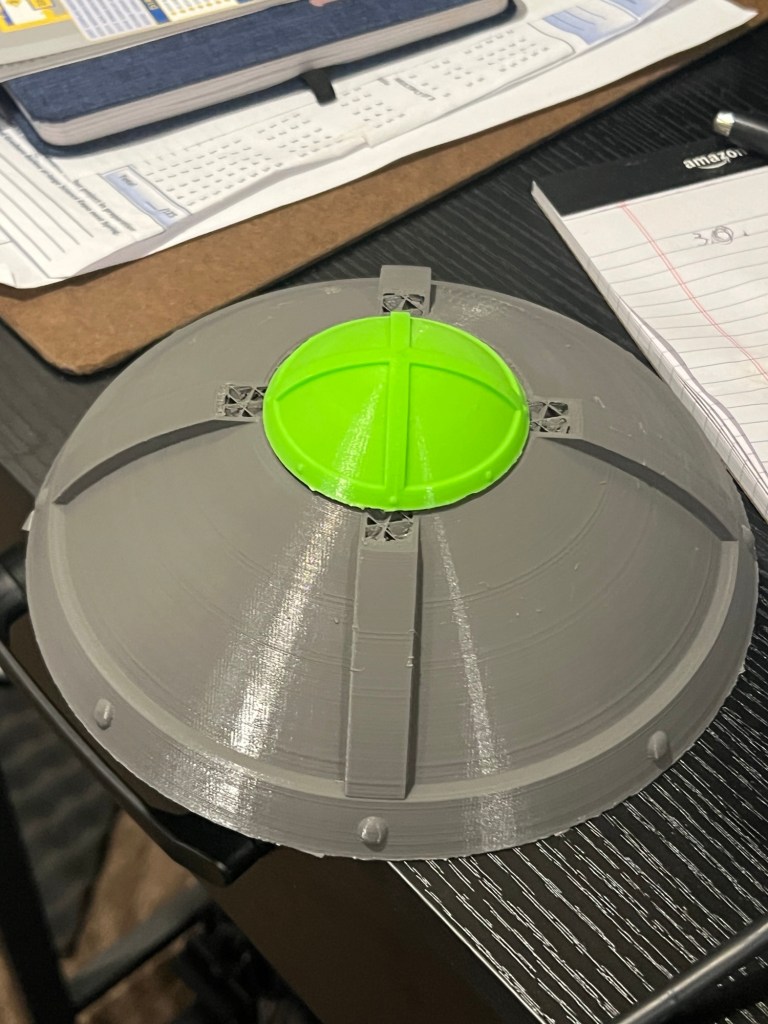
I went back to Thingverse and was able to download all these files for free. Very helpful and made my life a lot easier!
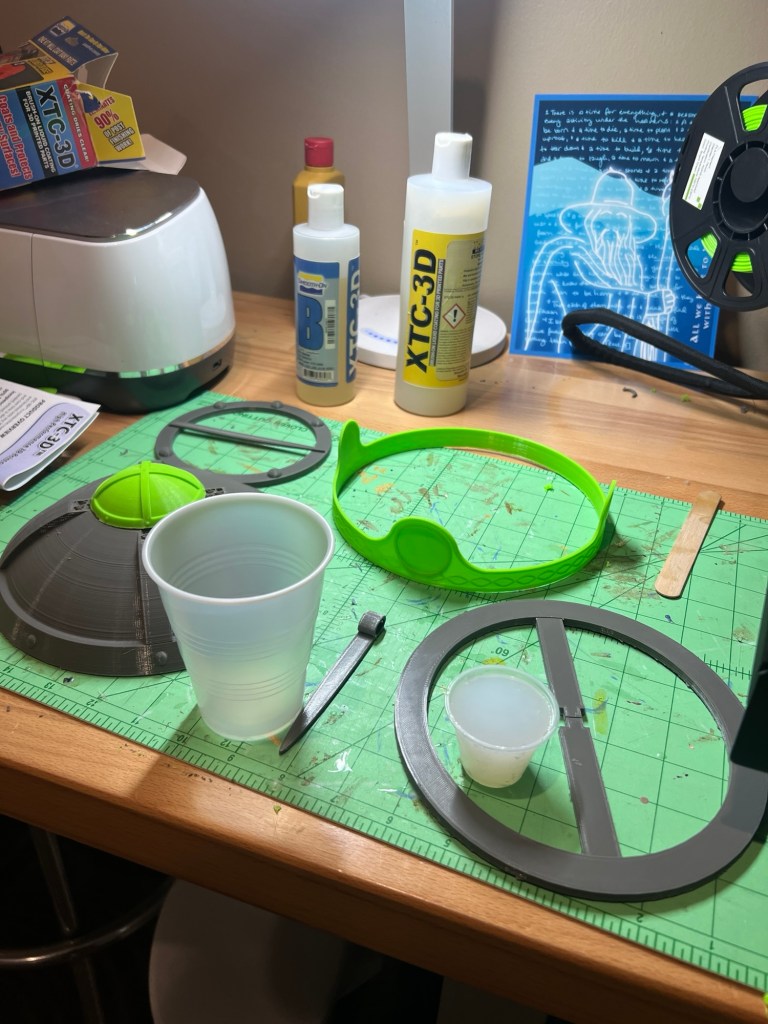
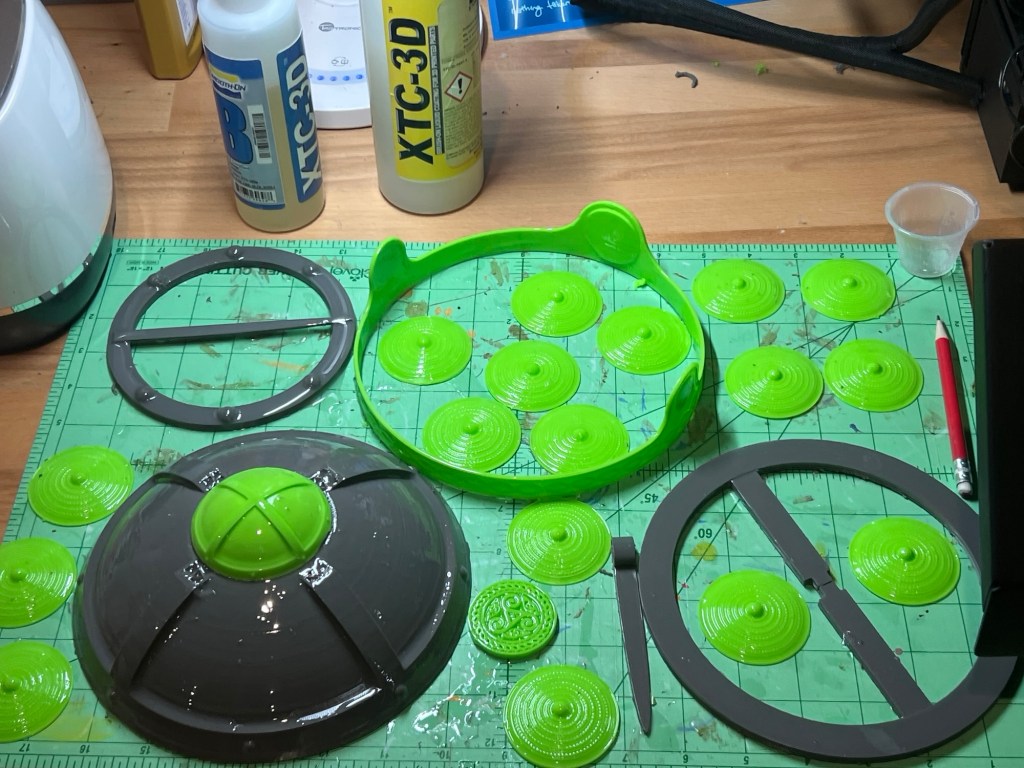
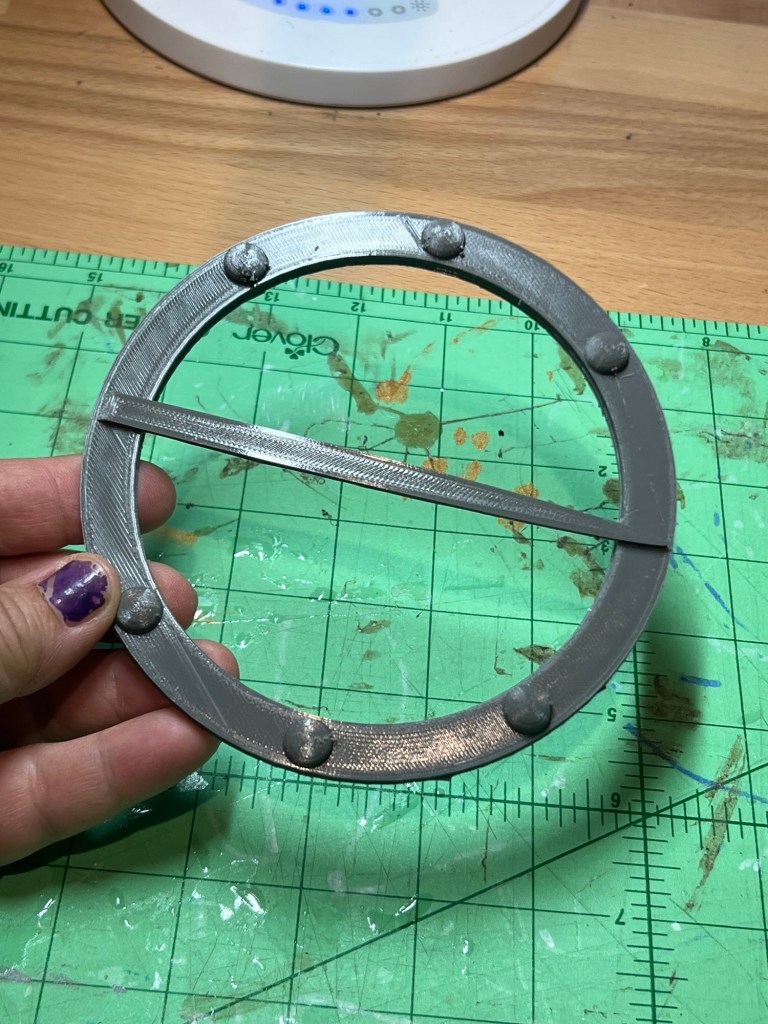
Once printed, I used Smooth-On to take out the print edges. I then sprayed with a silver spray paint. The kilt pin and helm I ended up rubbing on eyeshadow then coating with a clear seal to get a coppery aged look.


The helm ended up failing at 90% done so I printed another mini helm to use as a “cap”. Turns out it didn’t matter because he didn’t wear it in the end!
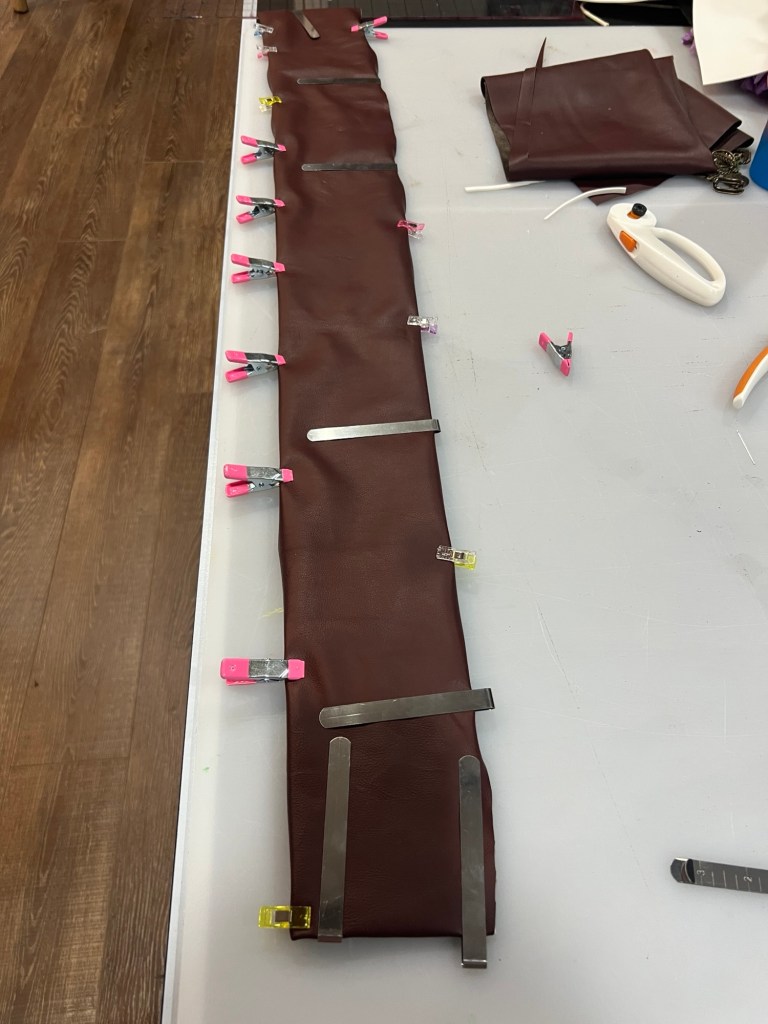
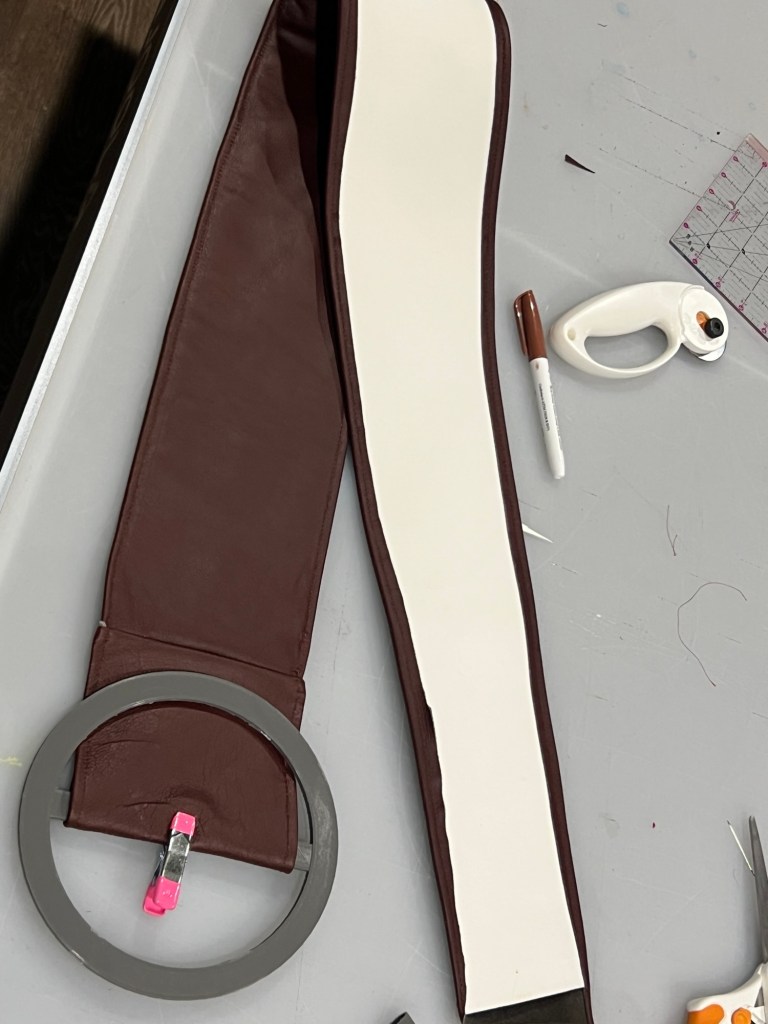
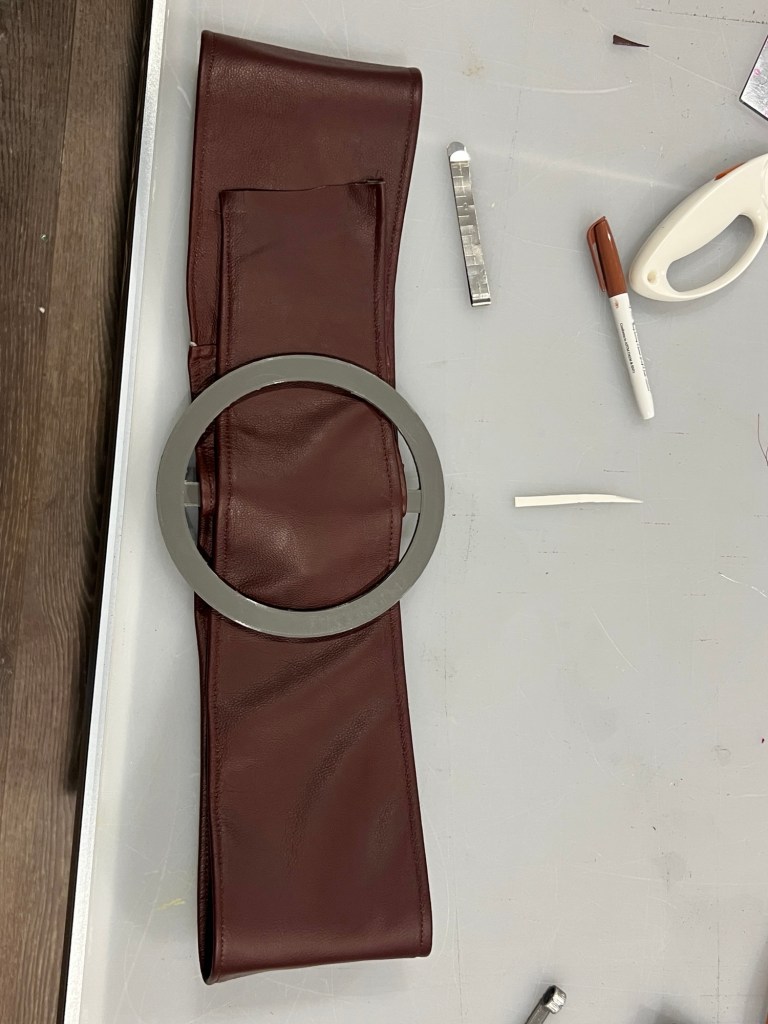
The actual belt I used a 2mm in foam sheet roll and then covered it with the remaining leather material. I ended up actually just sewing the leather to the foam. Sad story though, for the faire we went to, we completely forgot to pack this belt so he never even wore it!

King Fergus
The final touch was putting orange color wax in his beard and hair to complete the look!